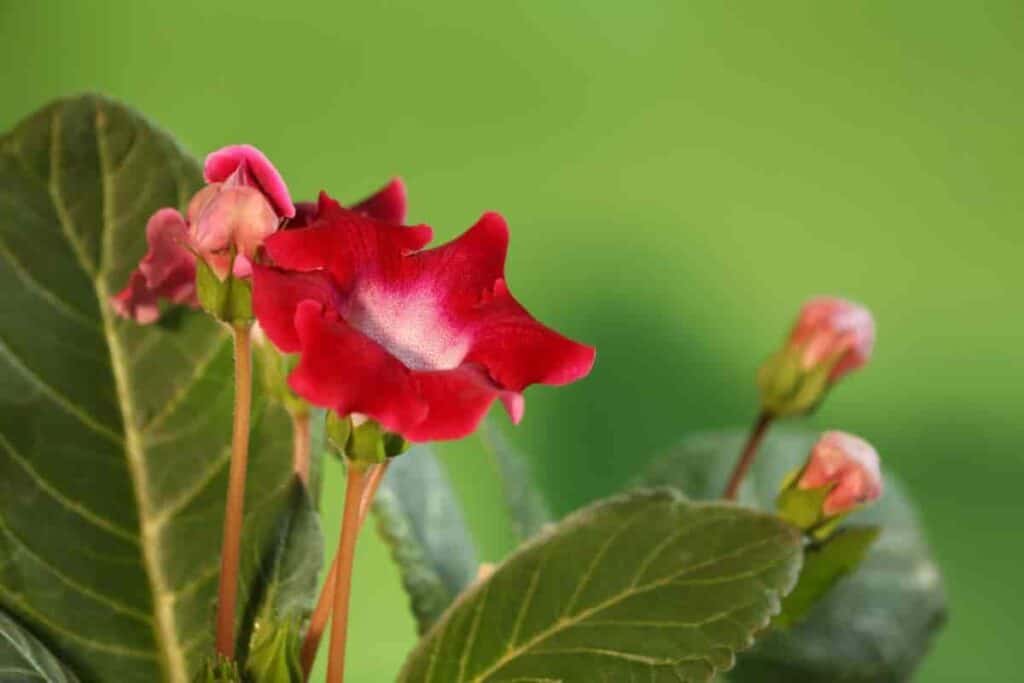
Few can equal a gloxinia in full bloom for a spectacular house plant.
Once you have experienced the thrill of producing a blooming plant from a tuber, you won’t be satisfied with one tuber.
You will want to explore the gloxinia catalogs and add some of the enticing colors and patterns to your collection.
When To Plant Gloxinias
There is some confusion about the best time to plant gloxinia tubers, mainly because some growers feature the tubers for sale in late fall and others, not until spring.
Those planted in November and December will bloom sooner than those produced in the spring—a decided advantage to most indoor gardeners.
However, when light intensity is low in November and December, plants will become tall and spindly unless they have an exceptionally soft window.
Experience will soon tell you whether your plants have enough light.
In areas with a snow cover on the ground most of the winter, the gardener has a distinct advantage as light reflected from the snow is of greater intensity than that from bare soil.
Tubers planted in late spring make lovely porch or terrace plants in summer. The plants should be protected from intense sun, heavy winds, and rain for the best results.
Most growers recommend that tubers be planted immediately upon receipt.
However, if, for one reason or another, you should wish to hold your tubers for a month or so, they will usually keep very well if kept in a plastic bag in a cool place—about 55° degrees Fahrenheit.
Which Window?
The best window is the one with the lightest—usually south or west. A curtain over the window or a shade partly drawn will materially cut down light intensity.
A tall spindly plant indicates insufficient light.
Using two 40-watt fluorescent daylight tubes with a reflector over your plants, you may grow them in the darkest corner of your room.
The lights are kept on for 14 continuous hours each day.
Ideal Humidity Indoors
Ironically, most of us want to grow gloxinias when environmental conditions for their growth are the poorest.
We generally have good light, proper temperature, and sufficient humidity during the summer months for optimum growth.
Still, with our outdoor gardens flourishing and vacation interruptions, the indoor playground is forgotten.
When the days begin darkening in late fall, and we enjoy our warm (and usually dry) homes, our thoughts turn to plants indoors.
Most of our homes are too dry for good plant growth. However, plants often thrive when window space is available in the kitchen.
Steam from cooking and washing provides a more humid atmosphere than in other rooms.
A small commercial humidifier set near the plants will help provide moisture, as will a kettle of water boiling on a hot plate near the plants.
Perhaps the best idea is to obtain a galvanized metal tray filled with moist sand or peat to a depth of about 2” inches and on which the plant pots may stand.
This system offers three distinct advantages:
- Plants will require less watering as the clay pots will absorb moisture from the sand or peat
- The humidity of the plants is significantly increased.
- It is easier to water without spilling water on the floor.
A tray used in conjunction with fluorescent lights makes an ideal arrangement.
Proper Temperatures
Most of us aren’t willing to adjust house temperature to please our plants.
Fortunately, gloxinias tolerate a relatively warm atmosphere, although the temperature should not be much over 70° degrees Fahrenheit during the day and at night should drop to 65° degrees Fahrenheit.
A high night temperature forces growth and accentuates any tendency to lean development due to improper light.
Temperatures below 60° degrees Fahrenheit will seriously retard the plant’s growth.
Good Soil Conditions
Most indoor gardeners blame all plant ills on improper earth.
Often ground is adequate, and it is the environmental conditions of light. Temperature and humidity that is at fault. The soil should be light and porous.
A good garden soil to which has been added V, one sand, and V3 peat moss or leaf mold should be adequate.
A tablespoonful of commercial fertilizer (5-10-5) added to about 1 quart of soil is sufficient at planting time. As the plant grows, it fertilizes occasionally.
Starting Tubers
The top of the tuber is usually slightly indented; if you look carefully, you can see the scar or stub from the old stem.
Place about ½” inch of soil over the top. The soil should be kept moist but not wet.
Sprouting time may vary from two weeks to several months and is not usually indicative of the vitality of the tuber.
In the greenhouse, several hundred tubers grown, harvested, and stored under identical conditions may be planted at one time, and there will be a wide divergence as to sprouting time.
Sprouting may often be hastened by keeping in a hot place.
But the soil must not become too dry. Never discard a tuber without examining it. Usually, a poor tuber will rot, so if it still appears firm, the chances are that it will grow.
If you obtain first-quality tubers and provide the few necessities for proper growth, you should be rewarded with exotic flowers of breathtaking beauty.
44659 by Margaret Ohlander