Planting Procedure For African Violet Cuttings
- Fill a two-inch pot with soil mixture.
- Lay the rooted stem on top, the leaf supported by the edge of the pot.
- Sprinkle soil over the roots, firming it down very gently. Try not to bury or bruise the tiny new plants.
- Moisten the pot and soil, and replace them in the light, the protected spot where rooting was first begun.
- Keep soil moist but not muddy.
- Water only when it feels dryish to the touch of your fingers.
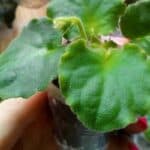
Mouse Ear African Violets
In a few more weeks, tiny “mouse-ear” African violet leaves will push their way up from the roots at the base of the stem.
Each of these first leaves is the beginning of a new plant. Continue to keep the soil moist and the pot away from chilling drafts and hot sun.
Do not remove the old leaf. The babies are not yet big enough to be separated and begin an independent life without nourishment from the mother leaf.
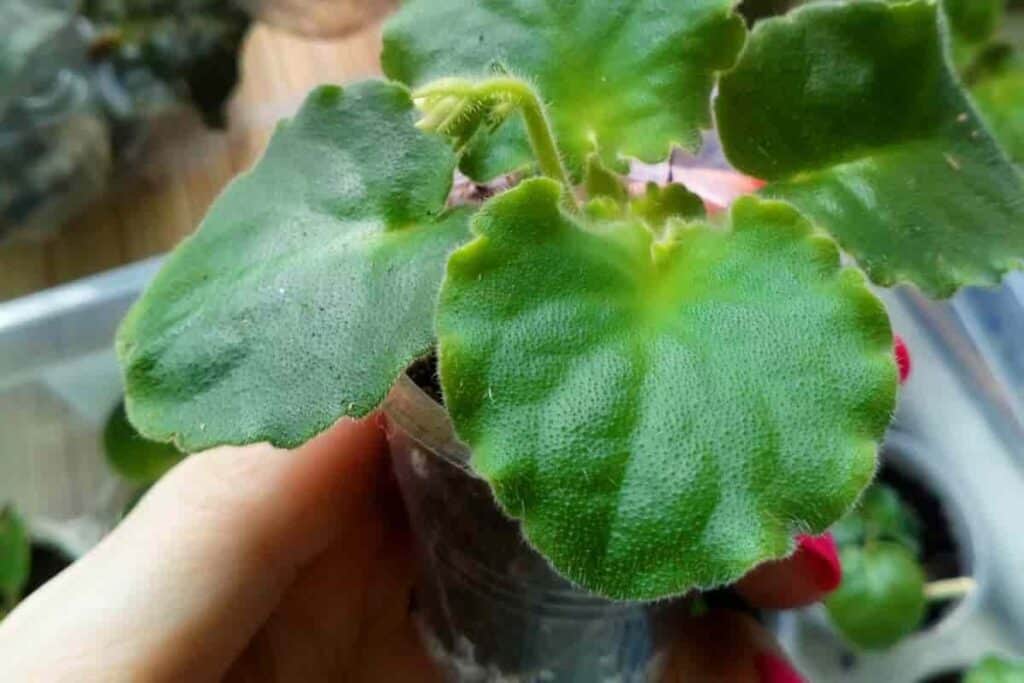
Plants Ready To Start on Their Own
At last, you have brand new African violet plants ready to start life on their own!
Some are larger and have larger root systems than others, but all will (with some pampering at first) grow into replicas of the parent plants — with the same vigor and habit, the same type of leaf, the same size, color, and contour of the flower.
The more soil remaining around the roots, the less the transplanting shock.
Planting Young African Violets
Plant each young African violet in its two-inch pot nearly filled with an airy light soil mixture.
Spread out the roots and cover them with soil up to (but not over) the crown — the point where leaf stems join in a rosette.
Firm soil lightly over the roots. Moisten pot and soil. Keep the new plants away from drafts and shaded from the sun until new growth shows that they are settled and heading toward maturity.
Image/s
(Check illustrations page 23)
44659 by Elvin Mcdonald