
Did you know that Americans consume over 2.45 billion pounds of avocados annually, yet less than 1% grow their own?
I was shocked to discover that growing avocados in containers isn’t just possible. It’s actually easier than the traditional method!
After watching my first potted avocado tree flourish on my tiny apartment balcony, I’m never buying one from the store again. Here’s why you should join the container avocado revolution…
Why Your Home Desperately Needs a Potted Avocado Tree
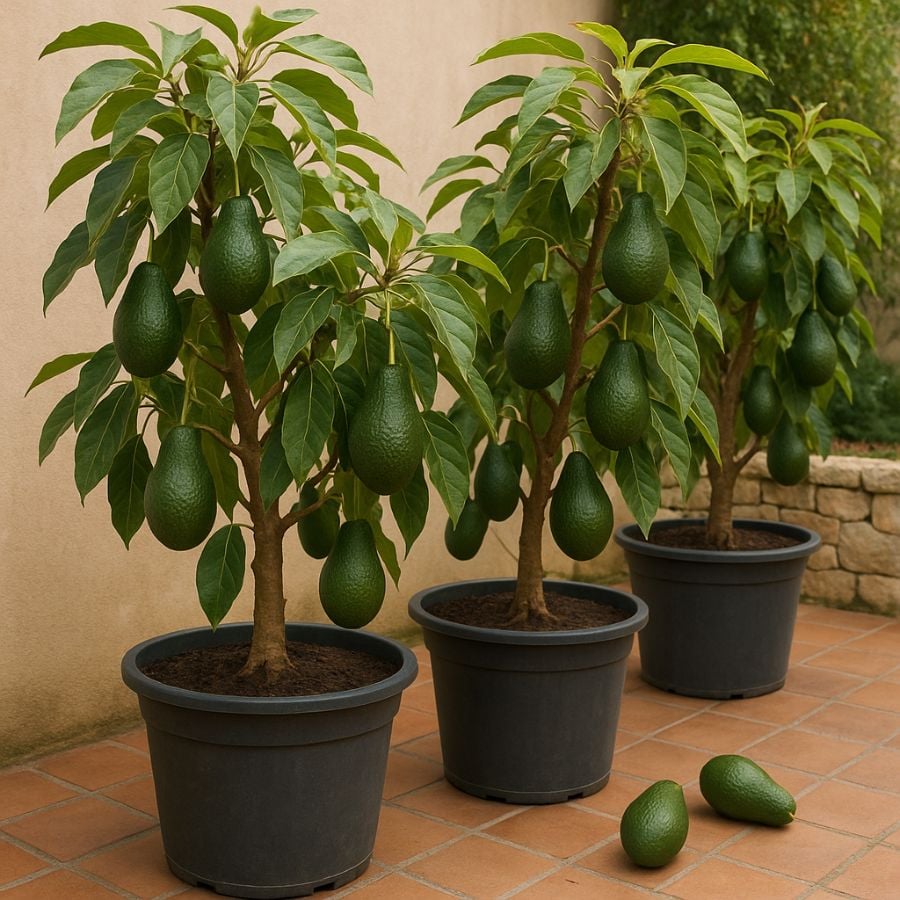
Growing avocados in pots isn’t just for the garden-deprived. These emerald beauties offer benefits that’ll make you wonder why you’ve been paying $2+ per fruit at the supermarket.
First off, homegrown avocados are like comparing homemade cookies to store-bought. There’s simply no competition in flavor.
Plus, they’re completely free from the questionable chemicals and pesticides that commercial growers often use.
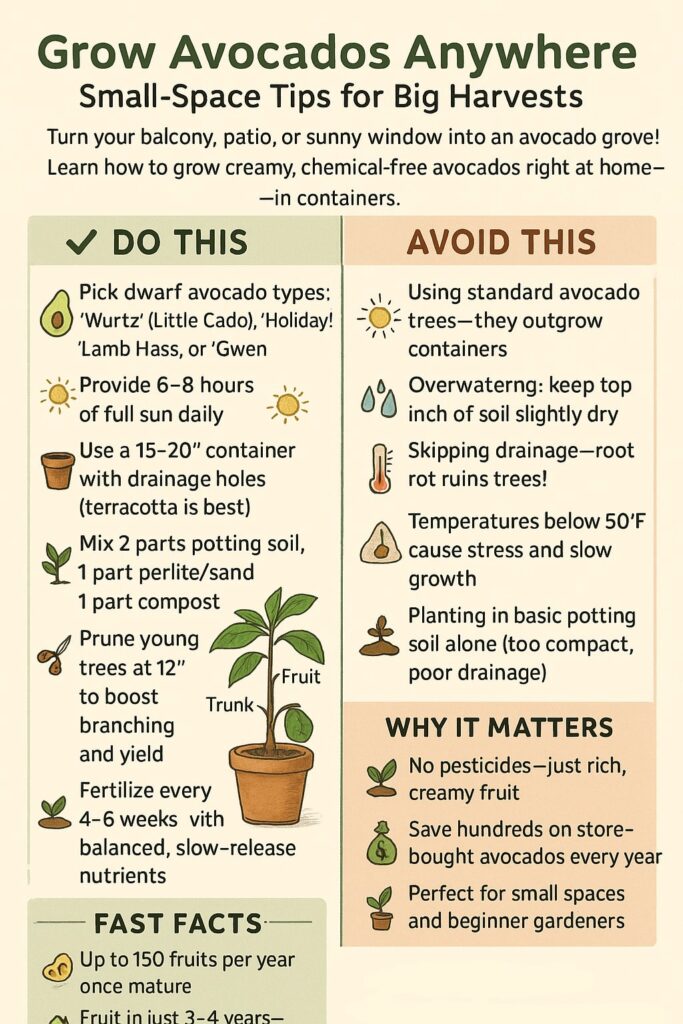
But here’s the real kicker: a single potted avocado tree can produce up to 150 avocados annually once mature!
That’s potentially hundreds of dollars saved each year. (And let’s be honest, your guacamole obsession isn’t going anywhere.)
- Chemical-free fruit you can feel good about eating
- Significant cost savings over time
- Natural air purifiers that remove toxins from your home
- Stunning visual appeal like living sculptures for your space
Choose Your Champion: Selecting the Perfect Avocado Variety
The secret most plant experts won’t tell you is that not all avocado varieties play nice in containers. Forget what you’ve heard about standard avocados. They’ll turn into an unmanageable jungle in your living room!
For spectacular results in pots, you need compact varieties that know how to behave in limited space.
The ‘Wurtz’ (affectionately known as ‘Little Cado’) is the undisputed container champion, typically reaching a manageable 10 feet tall when properly pruned.
Other container-friendly superstars include:
- ‘Holiday’ – Compact with rich, nutty-flavored fruit
- ‘Lamb Hass’ – Smaller tree with larger, creamy fruit
- ‘Gwen’ – Semi-dwarf with excellent production potential
The Container Conundrum: Setting Your Tree Up for Success
Your avocado’s home is as crucial as choosing the right neighborhood for yourself. The difference between amateur and pro plant parents is simply understanding that pots are not just decorative. They’re functional life-support systems.
Think of your pot as your avocado’s forever home (at least for a few years). Go big or go home. Select a container at least 15-20 inches in diameter with drainage holes that would make a shower head jealous.
Terracotta pots are the gold standard here, as they allow the soil to breathe like your tree just finished a marathon.
For your avocado, your soil deserves better than basic potting mix. Create a five-star growing medium by combining:
- 2 parts high-quality potting soil
- 1 part perlite or coarse sand (for drainage)
- 1 part well-rotted compost (for nutrients)
From Pit to Tree: The Magical Transformation Process
There’s something almost miraculous about watching an avocado pit transform into a lush, fruit-bearing tree. It’s like witnessing a butterfly emerge, except this metamorphosis takes months, not days.
Start by cleaning a seed from a ripe avocado; if possible, use an organic one, as conventional ones may be treated with sprouting inhibitors. (That might explain why your previous attempts failed miserably!)
The game-changer for your avocado seed isn’t what you think. Most people make this mistake with their avocados by randomly inserting toothpicks. The orientation matters! The slightly pointed end goes up, the flatter end down.
Suspend it in water with the bottom half submerged, place it in a warm, bright location, and change the water every few days to prevent bacterial growth.
Within 2-6 weeks, you’ll witness the dramatic first signs of life: roots stretching downward and a sprout reaching for the sky.
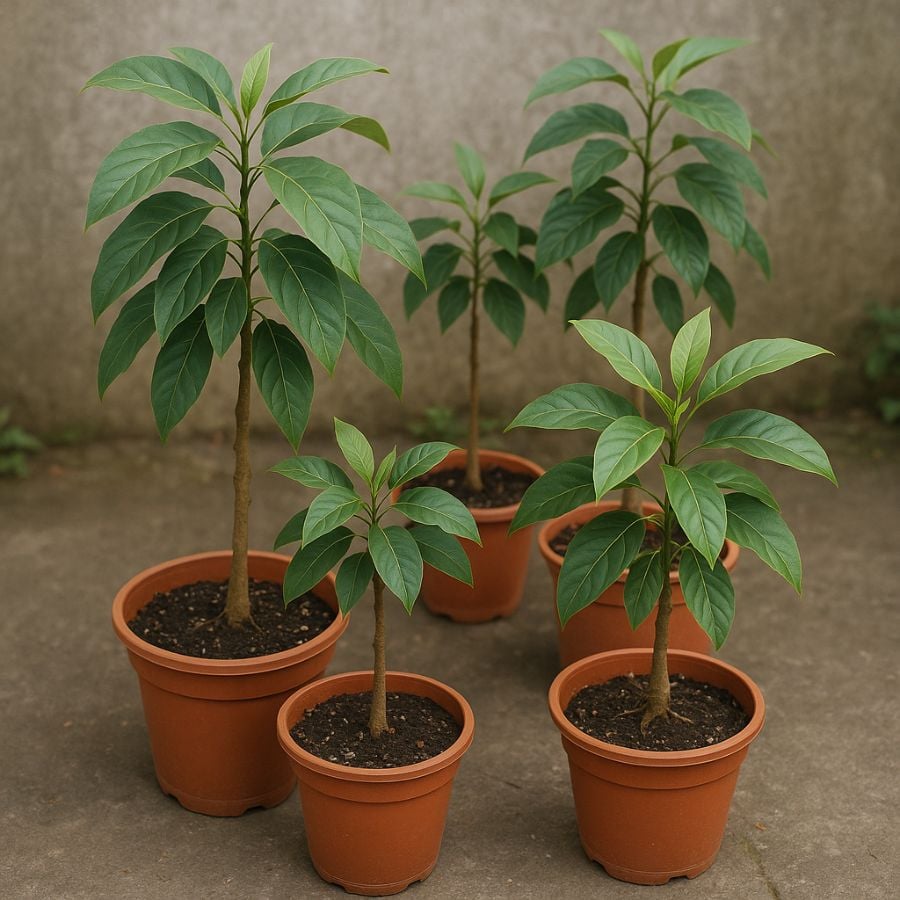
Potting Your Baby Tree: The Critical First Step
When your seedling reaches about 6 inches tall and has developed several leaves, it’s ready for its first real home. This transition is akin to moving a toddler from a crib to a bed, a major milestone.
Fill your prepared pot with your gourmet soil mix, create a depression in the center, and plant your seedling so the top half of the seed remains visible above the soil line. Water thoroughly until moisture drips from the drainage holes, signaling a proper soaking.
Your young tree is now embarking on its journey to becoming a great avocado. Pat yourself on the back. You’re officially a tree parent!
Sunlight, Water, and TLC: The Holy Trinity of Avocado Care
Your avocado tree is trying to tell you something important: “Feed me sunlight!” These are not shade-lovers; they’re sun-worshippers that crave 6-8 hours of direct rays daily. A south-facing window is ideal, but an east- or west-facing window will suffice in a pinch.
The watering sweet spot is moist but not swampy; think of a tropical vacation, not a swimming pool. Allow the top inch of soil to dry between waterings, which typically means watering deeply once a week (more in summer, less in winter).
Temperature-wise, keep your tree in the 60-85°F range (15-29°C). Below 50°F (10°C), your avocado will sulk like a teenager denied screen time; growth slows, and the plant may show signs of stress.
Fertilize every 4-6 weeks with a balanced, slow-release fertilizer to provide a steady supply of nutrients. Your tree will reward your attention with vibrant growth that’ll make other houseplants envious.
Pruning for Productivity: Shaping Your Future Harvest
Left to their own devices, avocado trees grow tall and lanky, not ideal for indoor living or maximum fruit production. Think of pruning as giving your tree a stylish haircut that benefits its health and appearance.
When your seedling reaches about 12 inches, pinch off the top set of leaves. This seemingly harsh action is actually a kindness. It forces the tree to branch out rather than up, creating a bushier, more productive plant.
Continue to trim back leggy branches and pinch new growth throughout the growing season. With each strategic snip, you’re transforming a potentially unwieldy tree into a compact, fruit-producing powerhouse.
Troubleshooting: Rescuing Your Tree from Disaster
Even the most attentive plant parents encounter problems. Yellow leaves usually scream “I’m drowning!” (overwatering) or “I’m starving!” (nutrient deficiency). Adjust accordingly and watch for the dramatic comeback.
If you spot tiny webs or sticky residue on leaves, you’ve got unwelcome guests: spider mites or aphids. Evict these pests immediately with a shower of water followed by insecticidal soap or neem oil treatment.
Brown leaf tips typically indicate low humidity or salt buildup from excessive fertilizer use. Mist regularly and flush the soil thoroughly every few months to revive your struggling plant.
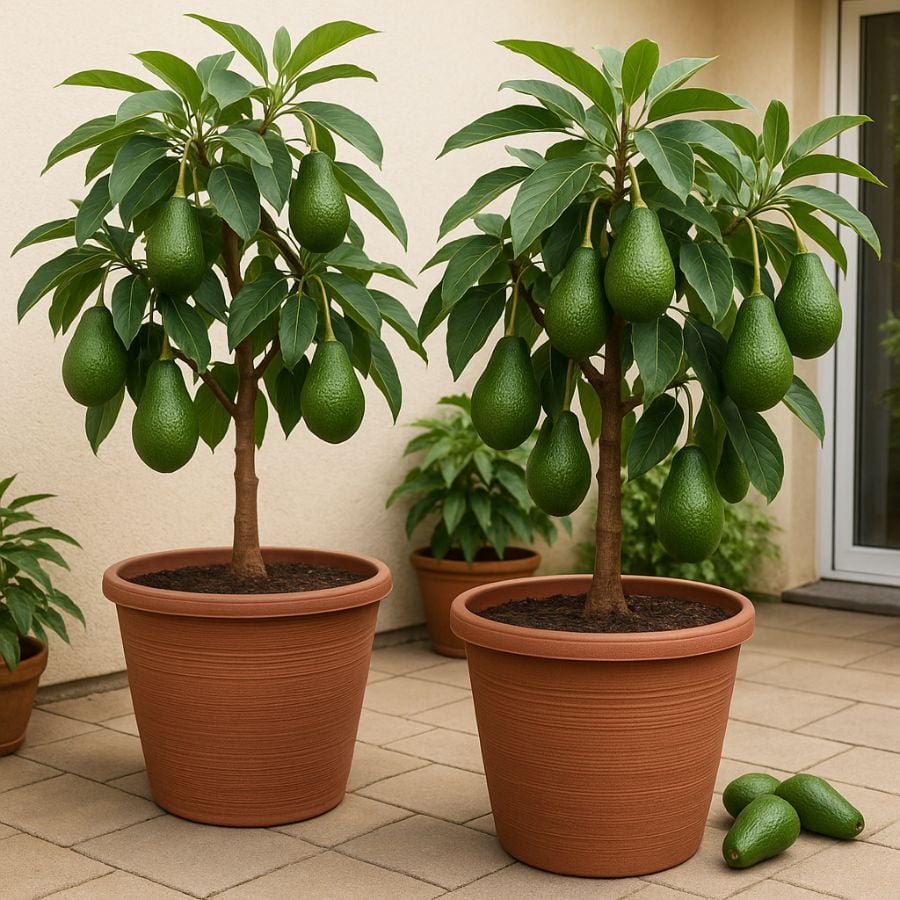
The Sweet Reward: Harvesting Your Home-Grown Treasures
I won’t sugarcoat it. Patience is required. Container-grown avocados typically take 3-4 years to bear fruit (compared to 5-13 years for garden-grown trees). But when that first harvest arrives? Pure kitchen magic!
Unlike store avocados that ripen all at once, your tree will hold fruit at perfect ripeness for weeks. Harvest when fruits are fully ripe and begin to lose their shine. A gentle twist should release them from the branch—no tug-of-war needed.
The flavor of a home-grown, tree-ripened avocado is nothing short of a revelation—creamier, richer, and infinitely more satisfying than anything you’ve bought at a store. One taste, and you’ll understand why I’m never buying avocados again!