
Dry stone walls have an appeal all their own. We associate them with charming English gardens and the rocky, picturesque New England countryside. Some of the best of these walls were built by unskilled laborers, and there is no reason why the home gardener cannot enjoy equal success when he makes a wall of his own.
Aside from the stone, the only ingredients for success are practice and patience in stone settings and considerable physical labor. Here are some pointers to help you build drywall of your own.
Types Of Drywalls
As the name implies, drywalls are built of stone without mortar. They may be freestanding walls, like the pasture walls of New England, or retaining walls that separate two levels of ground, as in the accompanying illustrations.
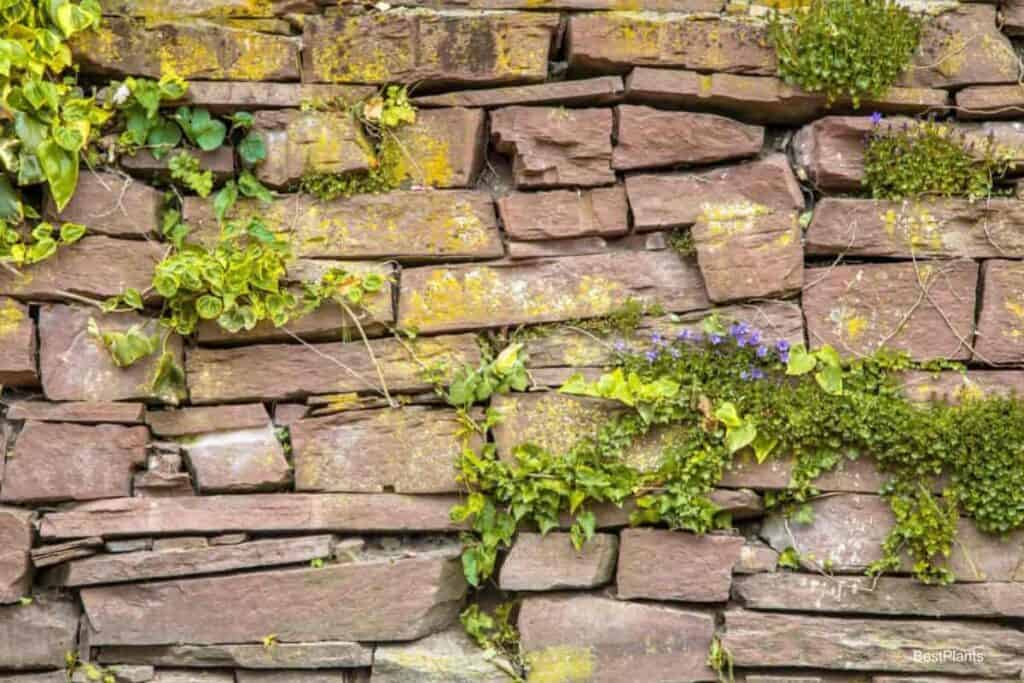
Dry retaining walls may have soil placed between the stones so that plants can grow among them, or they may be constructed without soil between the rocks, in which case flowers may be planted at the top or at the base of the wall.
The latter type is the easiest to build but perhaps not the most desirable if you want flowering plants among the stones and at the top and base of the wall.
Dry stone walls of any type arc appropriate in an informal garden, near an unpretentious house, or in open country where the setting is more or less informal. Near a very formal home or in a formal garden, the more regular lines and greater dignity of stone masonry, brick, or concrete walls are appropriate, unless the local stone is rectangular and quarry-cut as in some parts of Maine or Pennsylvania.
Drywall of irregularly shaped stones is likely to look more untidy than picturesque in a very formal setting.
Types Of Stones For Drywall
The inexperienced builder is usually astonished at the amount of stone needed for even a small wall. Unless the stone is available on your grounds in considerable quantity or can be imported inexpensively, a stone wall may not be practical. It would be best if you had much more rock than you will use.
There is a suitable stone for the right place, and some of your stones may not fit in. If you run short of stone, you must either gather or buy a great deal more to match the first lot, making the wall more expensive than you had anticipated or, as is all too evident in some gardens, one end of the wall will he has beautifully done. The other end will look like what it is —leftovers.
It is always interesting to watch an experienced drywall man taking time to select and reject stone after stone so that there will be a solid construction and a minimum of cutting.
The old walls that have stood firm for centuries are primarily the result of the patient selection of stones by the builders, coupled with the application of the knowledge—gained through experience—of the art of tying stone to stone, following their respective shapes, for a perfect and lasting fit.
The type of stone you select for your wall will depend on where you live and what stone is available. Granite, sandstone, limestone, or shale can all be employed effectively. Remember that your wall will be more attractive in texture and general appearance and will be more substantial if there is considerable variation in the size of the stones you use.
The taller the wall, the larger the stones should be, of course, to keep them in proportion to the total mass of the wall. If it is at all possible, place your stones, so the weathered faces are to the front. The division will then take on an aged appearance quickly.
Drywall Requires Less Foundation
One of the significant advantages of constructing drywall is that it requires much less foundation than a masonry wall. Even in severe climates, many of the old ones go only 6″ inches to a foot below grade—and the frost has not heaved them to any perceptible degree.
The answer is that heaving takes place in small sections, practically stone by stone, with each settling back into place. The wall below grade should be considerably more expansive than at the top, with large stones used to give a firm base.
Then the wall is built up with the more giant stones at the bottom and the narrower ones toward the top. Keep each layer of stones as nearly horizontal as possible. Any perceptible slope from left to right gives the stones the appearance of sliding, even if they are secure.
A professional mason usually puts the whole foundation course first. He then starts at one end and builds a small wall section at its full height. Trying to develop the entire length of the wall in layers is likely to result in too regular courses, with the horizontal joints paralleling each other for too great a distance.
In retaining walls, long bond stones are run from the front of the wall through its entire thickness every 8′ or 9′ feet to project into the bank behind. They act as anchors so that the pressure of the earth on top of these long stones helps prevent the wall from tipping.
The top of both retaining and freestanding walls is best made of long stones, relatively thin, to act as a coping. On retaining walls, this coping should be at least 18” inches wide and very firmly bedded so that there will be no danger of its tipping if someone gets too close to the edge of the wall.
With both freestanding and retaining walls, the face of the wall should slant (batter) in from the bottom to the top or at least at the rate of 1″ inch for every 2′ feet in height. In other words, a 4’ foot wall should slope at least 2” inches from top to bottom.
Planted walls are made according to the construction hints already given, except that the earth is placed between the joints instead of fitting the stones together as tightly as possible.
Also, at irregular intervals up and down the face of the wall, spaces or planting pockets 3″ to 4″ inches square are filled with soil the full depth of the wall.
In this type of wall, it is essential to have your stones slope toward the back; otherwise, earth, plants, and stones are likely to be found at the foot of the wall after a brutal storm.
The horizontal earth joints should be as thin as possible—just enough to make the stones firm—but the joints should run the full depth of the wall, the earth in the joints coming in contact with the soil behind the stones.
In this way, you allow the plant roots to make their way through the wall and establish themselves. If you do not do this, the plants will dry out in hot weather or heave out during the winter. The stones are set in place so that rainwater runs into the planting pockets and not down the face of the wall.
Good Soil For A Planted Wall
The soil for a planted wall should be specially prepared. If the existing soil is clayey, it will need equal parts of sand and humus mixed with it; even if you have good topsoil, it is still wise to add a little humus and sand.
As you lay each layer of stones, the soil is placed and tamped between and behind them for 10″ to 12″ inches. Fill earth may then be used behind the layer of good soil. Do not wait until the wall is completed before back-filling, as this is likely to result in air pockets and poor growing conditions for the plants.
It is best to plant the wall as you build so the plant roots can be distributed in the soil. Setting the plants in the planting pockets is almost impossible after the wall is completed.
The plants that you use in drywall are selected according to:
- The direction in which the wall faces.
- The amount of sun or shade they will get.
- The height of the wall.
Some plants are better adapted to the top or top third of the wall; others belong near the base; and others in the middle section. It is unwise to select plants that spread too quickly, for they will completely obscure the stonework. The root system should be fine and fibrous, rather than heavy, to make its way between the crevices of the rock.
For general effectiveness, only a few varieties should be used in drifts throughout the length of the wall. Too many one-of-a-kind plants will make your wall look like a patchwork quilt.