
Want bell peppers so juicy and crunchy they make store-bought ones taste like sad, flavorless impostors?
You’re about to discover the game-changing secrets most gardening experts keep to themselves.
Homegrown peppers contain up to 50% more vitamin C than their grocery counterparts; just one of the reasons to start your pepper-growing journey today.
Whether you’ve got acres of land or just a sunny balcony, these vibrant veggies are about to transform your cooking and your garden.
The Secret Sauce: Perfect Growing Conditions That Make All the Difference
Forget what you’ve heard about bell peppers being difficult to grow. The truth? These colorful gems just need you to understand their “love language.”
Bell peppers are basically the sun-worshipping beach lovers of the vegetable world. They thrive in temperatures between 70°F and 85°F and need at least 6-8 hours of direct sunlight daily.
The game-changer for your pepper plants isn’t fancy equipment. It’s timing. Planting after the last frost date in your area is non-negotiable, as these tropical beauties will dramatically collapse at the slightest hint of frost. (Trust me, I’ve made this heartbreaking mistake so you don’t have to!)
Most people make this mistake with their peppers: they underestimate the importance of humidity control.
Too much moisture hanging in the air creates a paradise for fungal diseases, while too little can stress your plants. Aim for moderate humidity and good air circulation around your plants.
Pepper Personality: Choosing Varieties That Will Dazzle Your Dishes
Your pepper journey begins with selecting varieties that match your taste buds and growing conditions. Each variety brings its own flavor profile and growing quirks to the table:
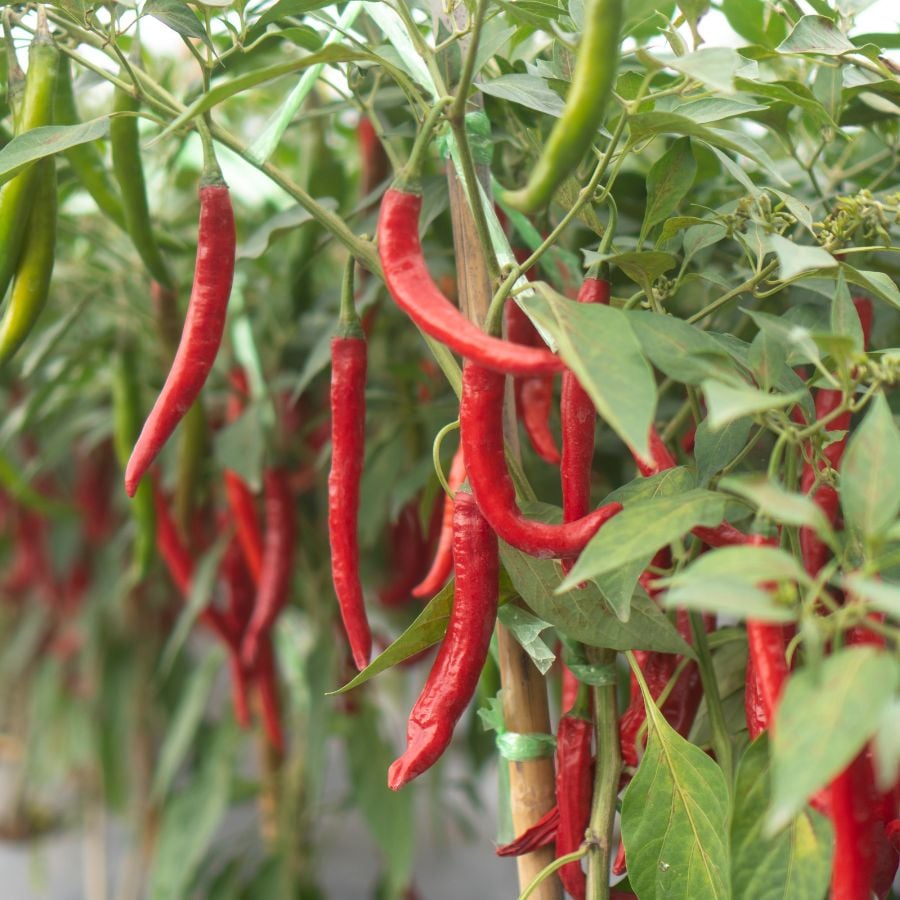
- ‘California Wonder’ – The classic choice that ripens from green to red with that quintessential bell pepper crunch
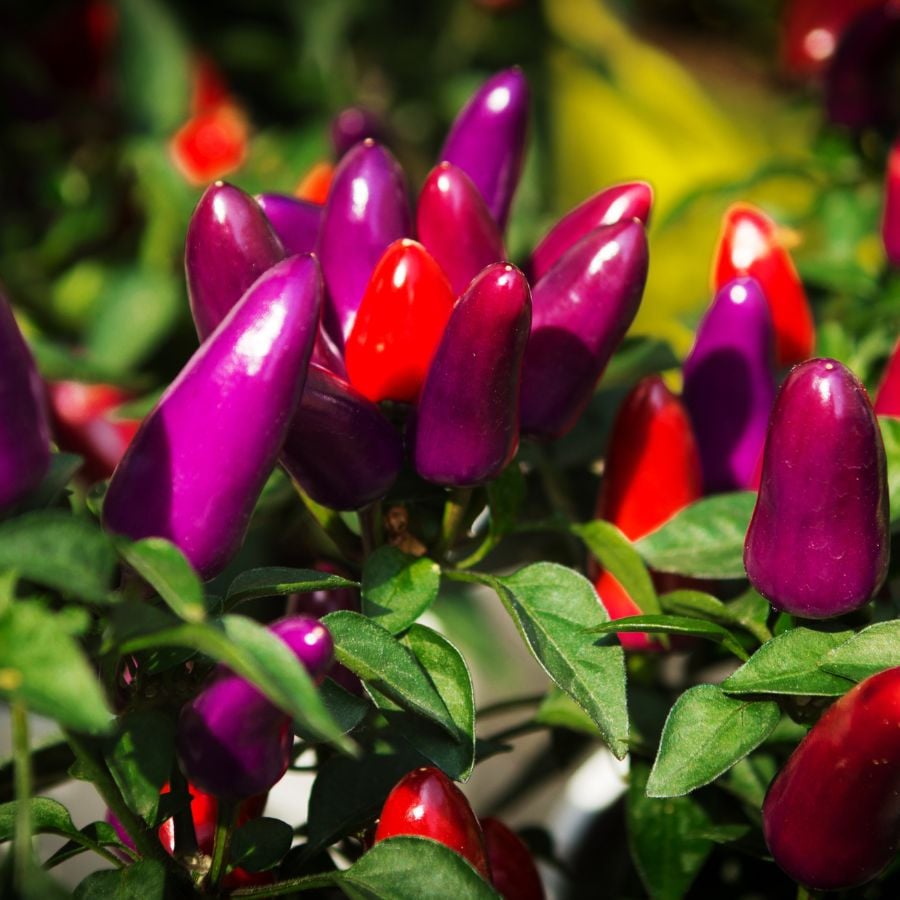
- ‘Purple Beauty’ – Stunning purple peppers that will make your garden Instagram-worthy
- ‘Red Beauty’ or ‘Yellow Belle’ – Sweeter options that add sunshine to any dish
The primary difference between amateur and professional plant parents is matching the variety to their specific growing zone and available space.
Some varieties are more compact and ideal for containers, while others spread out and require more space to flourish.
Pot Perfection: Setting Up Your Pepper Palace
Growing in containers? Your bell peppers are trying to tell you something important: “Give me room to grow!” Select containers at least 12 inches deep and wide—anything smaller will leave your plants stressed and stunted.
Drainage is absolutely critical. Without proper drainage holes, your peppers will literally drown. And nobody wants to perform plant CPR on a waterlogged pepper!
When it comes to pot materials, here’s a quick breakdown:
- Terracotta: Beautiful but dries out quickly; perfect if you tend to overwater
- Plastic: Retains moisture longer; ideal for busy gardeners who sometimes forget to water
- Fabric pots: Excellent drainage and air pruning for robust root systems
Soil Secrets That Make Your Peppers Pop
I was shocked to discover that soil quality alone can increase your pepper yield by up to 30%! Bell peppers require soil that strikes a balance between water retention and drainage.

Create a pepper-perfect mix with:
- High-quality potting soil (not garden soil, which compacts in containers)
- 20% compost for slow-release nutrients
- A handful of perlite to improve drainage
Aim for a slightly acidic to neutral pH between 6.0 and 6.8. This range makes nutrients most available to your pepper plants—like setting up an all-you-can-eat nutrient buffet for their roots!
Planting Like a Pro: From Seed to Seedling
Ready to get those peppers growing? Follow these foolproof steps:
- Fill your container with prepared soil, leaving 1 inch of space at the top
- Space plants 18-24 inches apart (they need room to mingle but not crowd each other)
- For seeds: Plant ¼ inch deep and cover lightly
- For seedlings: Plant at the same depth they were growing previously
- Water thoroughly but gently after planting
The secret most plant experts won’t tell you is that bell peppers can benefit from planting a bit deeper than they were in their nursery pots. Unlike tomatoes, they won’t grow roots along the buried stem, but the extra support prevents future flopping!
The Hydration Hack: Watering for Maximum Juiciness
Want peppers so juicy they drip down your chin? Consistent moisture is your holy grail. When the top inch of soil feels dry to the touch, it’s time to water. This typically means about once a week, but daily checks are your best bet.
During heatwaves, your peppers might need water every other day. Think of your peppers like high-performance athletes. They need extra hydration during intense conditions!
A dramatic 80% of common pepper problems stem from inconsistent watering. Too little creates stressed, tough peppers; too much leads to root rot and plant collapse. Water deeply at the soil level, avoiding the leaves to prevent disease.
Feeding for Flavor: Fertilizing Without Overdoing It
Balanced nutrition creates the most vibrant, flavorful peppers. Apply a balanced fertilizer (such as 10-10-10) every 4-6 weeks, or switch to a liquid fertilizer at half-strength every 2 weeks for a steady nutrient supply.
The game-changing nutrient many gardeners overlook? Calcium! A calcium deficiency causes blossom end rot. Those devastating black bottoms on otherwise perfect peppers. Add crushed eggshells to your soil or use a calcium spray to prevent this heartbreak.
Avoid the temptation to over-fertilize. Too much nitrogen creates lush, green plants with few actual peppers, like having all the sports equipment but never playing the game!
Harvesting Heaven: When and How to Pick Perfect Peppers
The moment of truth! Your peppers are ready to harvest when they reach full size and your desired color:
- Green peppers: Ready about 70-80 days after planting
- Colored peppers: Need an additional 2-3 weeks to develop their sweet, complex flavors
Did you know that a red bell pepper contains nearly twice the vitamin C of a green one? That extra ripening time creates not only color, but also nutritional value.
Use sharp scissors or pruners to cut peppers with a short stem attached. Never pull or twist. Your plant deserves better treatment after giving you such delicious bounty!
Troubleshooting: Rescue Your Struggling Pepper Plants
Even experienced gardeners face pepper problems. Here’s how to turn things around:
- No fruits forming? Likely due to temperatures above 90°F or poor pollination. Try hand-pollinating with a small paintbrush during cooler parts of the day.
- Yellow leaves? Usually indicates overwatering or nitrogen deficiency. Check soil moisture and adjust feeding.
- Small, misshapen peppers? Inconsistent watering is the likely culprit. Get on a regular schedule!
- Holes in leaves? Inspect for pests and treat with insecticidal soap or neem oil.
Your struggling plants can stage a spectacular comeback with the right interventions. Don’t give up on them too quickly!
From Garden to Table: Enjoying Your Homegrown Harvest
The flavor difference between fresh-picked and store-bought peppers is mind-blowing. Homegrown peppers have a sweetness and complexity that will transform your favorite recipes.
Bell peppers will keep in the refrigerator for 1-2 weeks, but for maximum nutrition and flavor, use them within a day or two of harvesting. Can’t use them all? Freeze them! Diced peppers freeze beautifully for winter soups and stews, a taste of summer in the coldest months.
Remember: growing your own bell peppers isn’t just about food. It’s about connecting with the miracle of growth and experiencing flavors that money literally cannot buy at any store. Your pepper-growing journey starts now!