You brought home that stunning orchid with its elegant blooms, and now it’s dropping flowers faster than a reality show contestant drops drama. Don’t panic!
I was shocked to discover that nearly 80% of orchid deaths are completely preventable.
After rescuing dozens of these misunderstood beauties, I’ve pinpointed the exact mistakes turning these tropical divas into plant cemetery candidates.
The Watering Paradox: Too Much Love Can Kill
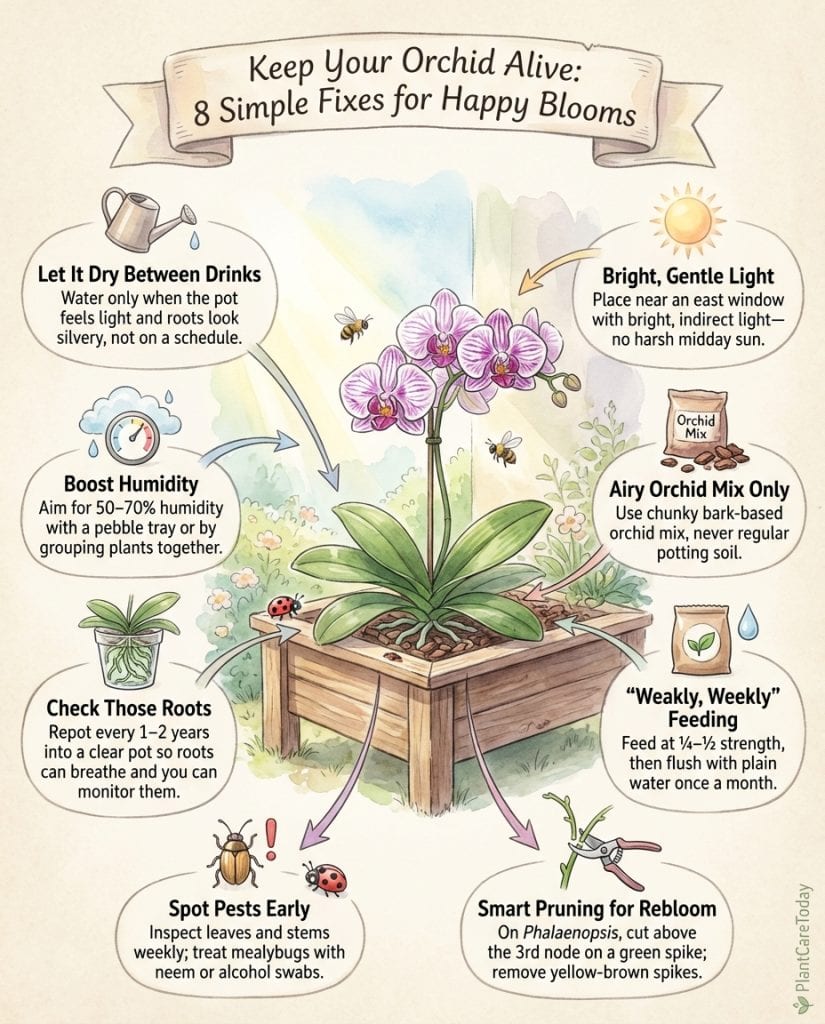
The game-changer for your orchid isn’t what you think. It’s actually watering LESS. Most orchids die from drowning, not thirst!
These aerial plants naturally grow attached to trees in the wild, not buried in soggy soil.
Forget what you’ve heard about regular watering schedules. Your orchid is trying to tell you something important: it wants to dry out completely between drinks. Like a gourmet meal versus fast food, quality trumps quantity.
- The Root Test: Roots should be firm and silvery-green. Mushy, brown roots? You’re overwatering.
- The Weight Test: Pick up your pot. If it feels light, it’s time to water. Heavy means it’s still moist.
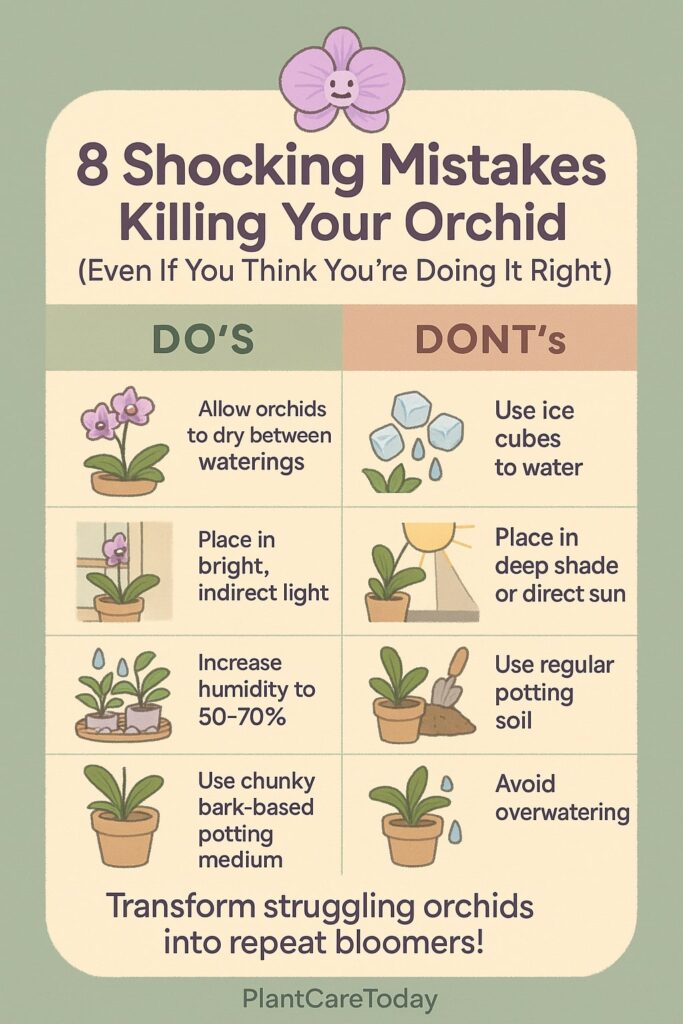
- Pro Move: Ice cubes aren’t a watering hack – they’re a disaster! This shocking trend causes root damage from cold shock.
Light Drama: Finding the Sweet Spot
Your orchid is basically a tropical teenager: dramatic about too much exposure, yet withering without enough attention. The primary difference between amateur and professional plant parents lies in their understanding of light needs.
Most people make this mistake with their orchid by placing it in deep shade or scorching direct sun. In nature, orchids grow under tree canopies with dappled, bright light.
- Perfect Placement: East-facing windows offer the magical morning light that orchids crave
- Shadow Test: Hold your hand 6 inches above your orchid – you should see a soft, fuzzy shadow (not sharp or invisible)
- Seasonal Shifts: Move your plant as seasons change; windows that work in winter may roast your plant in summer
The Humidity Secret Most Experts Won’t Tell You
Did you know orchids absorb up to 50% of their moisture through their leaves, not their roots? This revelation changed my entire approach to orchid care.
Your bathroom isn’t just your spa retreat. It could be your orchid’s dream home, too! These tropical treasures thrive in humidity levels of 50-70%, while most homes typically hover at a bone-dry 30-40%.
- Humidity Hack: Group plants together to create a mini-microclimate
- Pebble Tray Magic: Place pebbles in a saucer with water beneath your orchid (don’t let the pot touch the water)
- Misting Myth: Contrary to popular advice, misting only raises humidity for minutes, not hours
Potting Medium: Why Your Orchid Is Suffocating
Using regular potting soil for orchids is like trying to make a fish live on land. They’ll suffocate! The secret to spectacular blooms starts with what’s happening below the surface.
Orchid roots need to breathe. These aerial hunters evolved to grab moisture from the air, not soil. When trapped in dense, water-retaining media, they literally drown.
- The Perfect Mix: Chunky bark, charcoal, and perlite create the airy environment orchid roots crave
- Repotting Schedule: Refresh medium every 1-2 years as it naturally breaks down
- Clear Pot Advantage: Transparent pots let you monitor root health and photosynthesize like they would in nature
The Fertilizer Breakthrough That Changed Everything
“Weekly, weakly” isn’t just catchy. It’s the mantra that transformed my struggling orchids into blooming machines. In their natural habitat, orchids receive nutrients in small, consistent doses from the decomposition of leaves and rainfall.
I was stunned when my research revealed that over-fertilizing actually inhibits flowering! Less truly is more with these exotic beauties.
- Dilution Solution: Use orchid fertilizer at ¼ to ½ the recommended strength
- Monthly Flush: Prevent toxic salt buildup by running plain water through the pot for 1 minute monthly
- Seasonal Needs: Reduce fertilizer by half during dormant periods when growth naturally slows
The Pest Invasion You’re Probably Missing
Those tiny white specks aren’t dust. They’re mealybugs having an all-you-can-eat buffet on your precious plant! Catching pests early can be the difference between a quick fix and a complete orchid funeral.
Inspect new orchids like a suspicious detective. Even high-end nurseries can harbor hitchhiking pests that spread to your entire collection faster than gossip at a family reunion.
- Inspection Routine: Check under leaves and along stems weekly with a flashlight
- Natural Arsenal: Neem oil, insecticidal soap, and isopropyl alcohol (70%) on a cotton swab for spot treatments
- Quarantine Protocol: New plants should be isolated for 2-3 weeks before joining your collection
The Pruning Method That Triggers Reblooming
Should you cut that spent flower spike or leave it? This debate divides even experienced orchid growers, but science provides clear guidance for spectacular results.
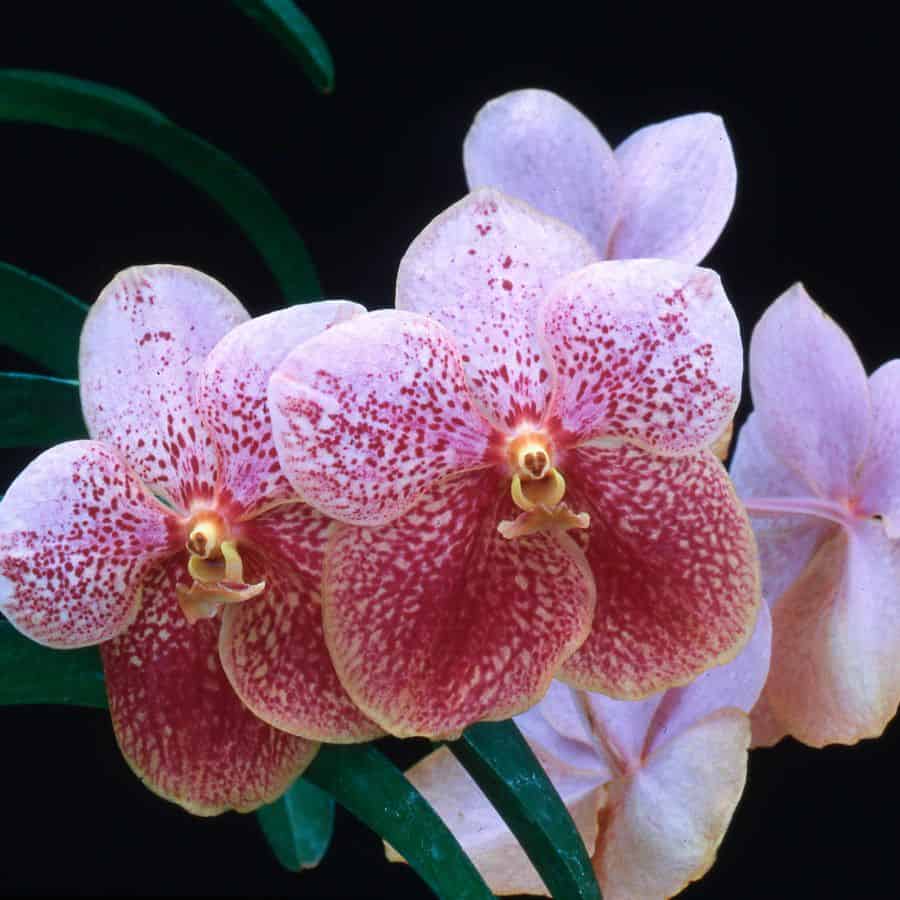
The secret to continuous blooms lies in understanding your specific orchid type. Phalaenopsis orchids (the most common variety) can rebloom from old spikes if pruned correctly.
- The Node Method: Cut just above the 3rd node from the base to potentially trigger a new bloom spike
- Sanitation Station: Always use sterilized tools (flame or alcohol) to prevent spreading disease
- Dormancy Signs: Yellowing or browning spikes are your orchid’s signal that it’s ready for pruning
Remember, orchids aren’t just surviving in the wild. They’re thriving without any human help at all! By mimicking their natural environment, you’re not just keeping them alive; you’re helping them flourish into the spectacular specimens they were born to be.