
There’s always space in the garden for a growing few additional roses. Sometimes, we wish only to make replacements, yet more often, we want to add choice new varieties.
Setting Out Roses In The Spring
Although many prefer setting out roses in the spring, more and more rosarians are advocating fall planting. There are many sound reasons in favor of putting them in now.
First, fall weather is ideal for planting. Usually, this means warm days, cool nights, and sufficient moisture to promote favorable root growth.
Secondly, the soil is in better condition than it is in the spring. It is warm and full of active bacteria, while it takes a while to warm up sufficiently in the spring.
The third reason is that plants get established when cold weather sets in. Thus when warm clays arrive in the spring, plants are ready to make growth without interruption.
Finally, there is more time to plant now than during the busy spring season.
Examine The Roses
When roses arrive, the first step is to examine them to see if they are in good condition. Stems should be firm and bright green in color.
Beware of any with shriveled stems, as that indicates that plants have probably dried out or have been in storage too long.
If you can plant them immediately, so much the better, but if you must delay a few days, examine the roots to see if they have enough moisture.
Moisten The Material
If the material around them is dry, moisten it and then put plants in a cool place until planting time. In this way, they can remain a week or more without harm.
If, on the other hand, plants must await your attention for a week or more, heel them in the ground.
To do this, dig a trench about a foot deep, unpack the plants, and place them closely at a 45-degree angle.
Work the soil around the roots and then cover the plants completely. If stock arrives in the fall too late for planting, roses may pass the winter heeled in the ground with perfect safety.
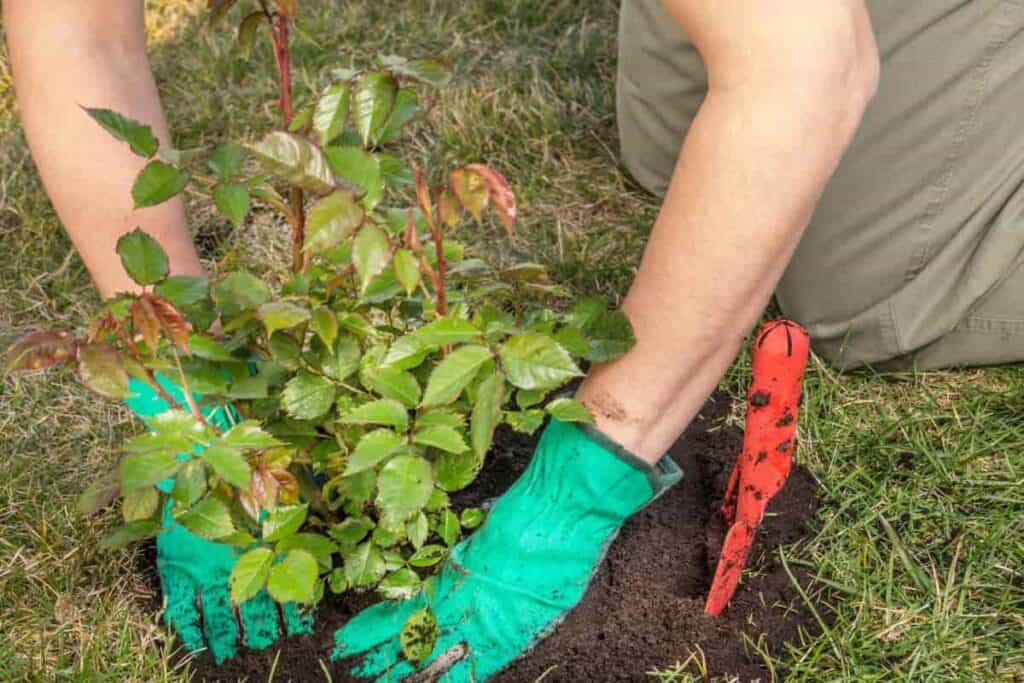
Rose Planting Procedure
The planting procedure for roses is the same as in the spring.
The first step is to prepare the soil deeply with peat moss, leaf mold or compost, or old manure if you can get it.
If possible, do this a few weeks before planting time to allow the soil to settle.
Give Enough Fertilizers
Add some superphosphate or bonemeal, slow-acting fertilizers, but avoid high nitrogen fertilizers at this time.
Chemical fertilizers should not be added until after the rose growth is well started in the spring.
Settle The Soil
To plant a rose, dig a generous hole deeper and wider than the spread of the roots. Fill the hole with water and allow it to drain in order to settle the soil.
Then make a mound of soil in the center of the hole, rest the plant on it, and spread the roots in all directions.
To work the soil around the roots, jiggle the plants up and down. As more topsoil is added, press it with your fists to eliminate air pockets.
Step on the soil with your feet when the hole is about 3/4 filled. Then fill the hole to the top, but leave a slight depression for watering.
This will also help to catch rain, but if it is dry, as autumn can be, do not fail to water the plants faithfully.
Fall-planted roses need protection, no matter how mild the winter may be. In fact, it is open winters that are often mild that are distrustful.
Monitor The Temperature
If snow could be certain as a permanent cover in many sections of the country, there would be much less winter killing of roses and other kinds of plants.
Changes in temperature and the consequent thawing and heaving are the cause of fatalities.
The easiest method for protecting roses is by mounding soil around the stems at about the time the ground freezes and not before.
This should also be practiced on established hybrid teas in areas where temperature hovers around the zero mark.
Mounding Of Soil
Soil for mounding should be taken from another part of the garden and not from around the plants, as this will either expose or bring near to the surface the roots of the plants.
Besides, roots may be cut when taking soil from around the plants. Generally, 6” to 12” inches of soil is mounded around the plants, depending on the size.
On top of this, place a blanket of marsh hay, straw, cranberry, or evergreen branches. These materials are light in weight and can be placed directly on the plants.
Strawy manure (again, if you can get it), crab mulch, or leaves may be used between the mounds, but not so that they come in contact with the stems.
Winter Cover is Important
Furthermore, a winter cover prevents the bills of soil from washing away during heavy rains.
If plants arrive unpruned, cut canes back to 12” or 15” inches. Eliminate small, weak, dead, or twiggy branches and cut off any broken roots.
Established Plants, however, head back tall canes to prevent them from whipping about in the winds.
Likewise, remove any undesirable wood, but postpone major pruning until spring. Winterkill of canes will then be evident.
44659 by Na