Many woody plants can be rooted easily. Although this is usually left to professionals, almost any home gardener can do it successfully.
If you have any woody plants in your garden, you probably have some which began their lives as summer-wood slips or cuttings.
Proper Timing For Success Rooting
Proper timing is probably the most important single factor for success in rooting, especially with many difficult species.
There are, unfortunately, no precise or truly scientific means of determining the best time to make cuttings.
Even the most skilled propagators rely on such rule-of-thumb methods as the color of leaves, the color of bark, whether or not stems snap when bent at right angles, and the relation of cutting time to time of flowering.
Timing Cuttings
The color of the leaves is said to be particularly useful in timing cuttings of rhododendrons—it is best to wait until the new leaves have turned a dark, lustrous green.
Cuttings taken earlier will likely decay in the cutting bed before they have had time to make roots.
The color of the bark at the base of the current season’s growth is a workable guide in the timing of many species.
For example, short shoots of mock orange will usually root well when the stems show a few flecks of brown bark near the base.
Snapping of stems is probably the best available test for timing cuttings of such varieties as Snow and Hinodegiri azaleas.
Testing The Young Shoots
It is best to begin testing the young shoots a few weeks after flowering. Then, if the stems break with a sharp snap when bent at right angles, the cuttings are ready for rooting.
Time of flowering is a particularly useful guide in timing cuttings of lilacs. Just before or just after flowering is the most favorable time.
Many roses root best just after the petals have fallen. Unfortunately, these timing methods are subject to inaccuracies and various interpretations.
Both beginners and professionals could learn a lot by taking small batches of cuttings at frequent intervals during the growing season and keeping careful records of the results.
Propagating Structure
Almost any type of enclosure which will retain the rooting medium, protect the cuttings from drafts and admit a moderate amount of light can be used as a propagating structure.
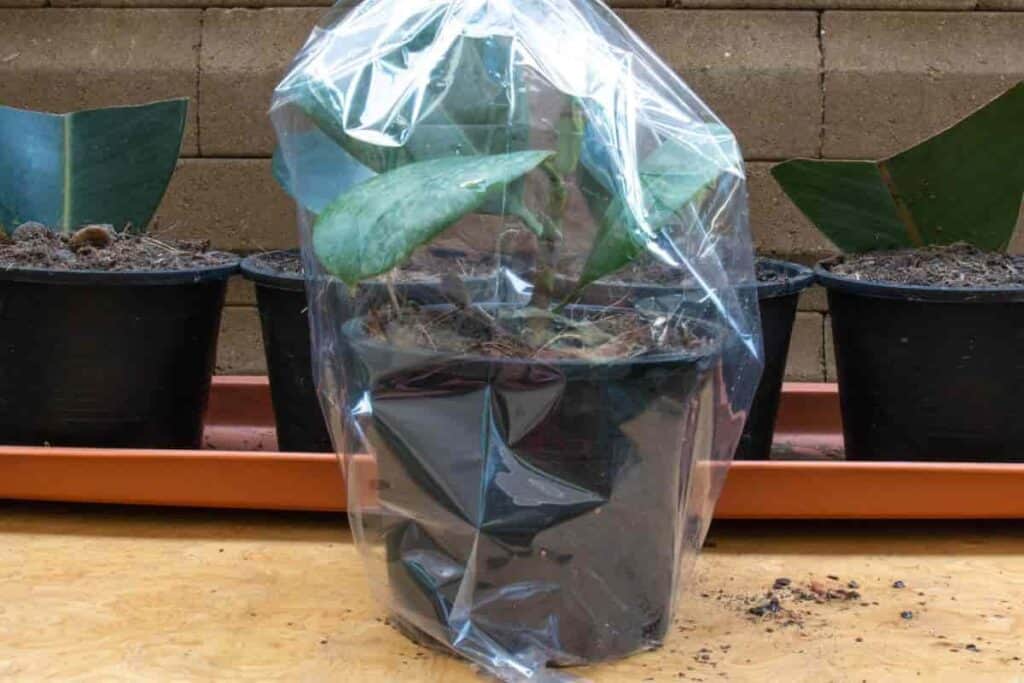
The beginner, who has neither greenhouse, conservatory, or cold frame, can often secure excellent results by inverting fruit jars, bell jars, or small aquariums over cuttings planted in pots and boxes in the open ground.
Except in very shady locations, it will be necessary to paint any glass covering with white paint or whitewash to reduce the light.
It is also desirable to provide a little space at the base of the jar for ventilation, especially during the warmest part of the day.
Cold Frame: Most Useful Propagating Structure
Clay flower pots should be plunged to the rim in well-drained soil to prevent drying out; boxes may be placed on the soil’s surface.
Cold frames are among commercial or amateur propagators’ most useful propagating structures.
Frames As Additional Shades
Frames for summer-wood cuttings should be reasonably well constructed and equipped with tight-fitting glazed sashes spattered with white paint or whitewash.
It is desirable to have supplementary coverings, such as slatted lath shades, cheesecloth, or a coarse burlap.
These can be used on top of the sashes to provide additional shade for recently planted cuttings and replace the sashes after the cuttings have rooted.
For A Successful Rooting
The type of cutting, particularly the position of the basal cut in relation to the nodes, has an important bearing on successful rooting.
(That area of the stem upon which leaves arise is called the node, while the intervening leafless portion is called the internode.)
In his experiments with 86 species and varieties of deciduous woody plants, Professor L. C. Chadwick of Ohio State University has found that 41 root best when the basal cut is made ½” inch below the node, 17 when it is made at the node, and 5 when it is made ½” inch above the node.
The remaining 23 roots are equally well with the cut in any position.
Basal Type Cuttings
Cuttings of the basal type are often very successful.
Basal ring cuts are made by cutting short twigs through their points of origin on older branches.
Basal ring cuttings are particularly successful with lilacs, roses, Japanese quince, and many azaleas.
With lilacs, the soft-growing tips should probably be left on, but it is best to remove them when rooting roses and Japanese quinces.
Growing Tip Retention
With azaleas, the retention of the growing tip depends upon the variety and the condition of the wood.
An exceedingly soft tip should always be removed since it is very likely to decay.
The growth of plants is apparently regulated by naturally occurring chemical substances, which are formed in the buds and leaves.
Synthetic Hormones for Rooting Process
These chemicals, commonly called hormones, are very important to successful rooting since they are believed to accumulate food materials at the basal end of the cutting.
This accumulation provides energy for new root development. Although they are not indispensable, synthetic hormones have been widely used to supplement natural hormones in the rooting process.
These synthetic hormones are quite generally available in powder form under various trade names.
They are particularly useful in rooting hollies and rhododendrons. When used judiciously, they tend to hasten to root and increase the mass of roots. in a wide variety of species.
Hormone powders are usually applied to the basal cut surfaces of the cuttings by some kind of dipping method.
Best Procedure For Cuttings
One good way is to spread a thin powder coating, say 1/16” of an inch thick, on a clean sheet of paper.
This can easily be done by using an old salt shaker or spreading the powder with an old table knife. The cuttings should first be moistened by dipping them in about ¼” inch of clean water.
The best procedure is to pick up the cuttings in bundles of ten or more, hold them loosely, and tap them lightly on a flat surface.
Their basal ends are uniform throughout the bundle, dip them in water, shake off the excess water, and then tap them lightly on the hormone-coated paper.
When powder and paper become soggy, prepare a fresh sheet. Never return used powder to the original container.
It is much better to discard it, particularly if one wishes to use the same powder container intermittently over a long period.
Clean coarse sand or sand-sphagnum peat moss mixtures are the most commonly-used rooting media.
Rinsing Seashore Sand
Bank, river, and manufactured sands are satisfactory. Sand from the seashore must be repeatedly rinsed with fresh water to remove the salt.
This can be done most easily by stirring the sand for a few moments with about three times its volume of water.
When the sand has settled, the water is poured off, and the process is repeated three or four times.
Substitutes For Sands
In recent years, expanded micaceous ores and volcanic glasses have been used as substitutes for sand.
These are light, moisture retentive, and sterile when purchased and often more readily available to amateurs than good propagating sand.
They are sold under several trade names and make satisfactory rooting materials.
The rooting medium should be from 4” to 6” inches deep, depending upon the size of the cuttings and the depth of planting.
Planting Summer-Wood Cuttings
Summer-wood cuttings should be planted, so the leaves touch in and between the rows.
Small-leaved species and varieties should therefore be planted more closely than large ones.
Generally, a spacing of 1” to 1 ½” inches in the row and 2” to 3” inches between the rows will be quite satisfactory.
If the cuttings are 5” to 8” inches long, 2” or 3” inches will be a satisfactory planting depth.
All cuttings should be clearly labeled, showing variety, name, and planting date.
Cuttings should be thoroughly watered following planting. In addition, they should be covered with heavily shaded glass or comparable material.
Watering During Hottest Days
During the first week, the glass cover should only be removed for light sprinklings—during the late morning of the hottest days.
A moderately warm, moist atmosphere is best, but a hot, moist atmosphere is less damaging than a cooler dry one.
During the second week, ventilate a little during the hottest days and sprinkle lightly two, or even three or four times a day, if necessary.
Additional water will help to compensate for moisture loss through ventilation openings. It is desirable to avoid sprinkling in the late afternoon so that cuttings will always go into the night with dry foliage.
Cuttings Of Other Species
Cuttings of privet, forsythia, mock oranges, and some viburnums should begin to root freely by the end of the third week.
The fight and air can then be increased quite rapidly until the cuttings are protected only by a slatted lath or burlap frame at the end of the fifth or sixth week.
With slow-rooting species, such as rhododendrons, one may not reach this point for several months, but the average run of summer-wood cuttings will root in six to eight weeks if they are going to root at all.
Rooted cuttings may be planted directly in sheltered nursery beds or the shade of other plants.
Planting the Rooted Cuttings
If possible, avoid planting on hot days and water heavily. Commercial propagators usually plant rooted cuttings in pots, boxes, or plant bands and place them in shaded coldframes.
In any event, almost any planting operation is a shock to the plant; rooted cuttings require special protection from strong winds and bright sunlight, especially for the first few days following planting.
The only way to learn how to root cuttings is to start rooting them. Make allowances for failures by trying 10 to 20 cuttings, each of several varieties.
Teach yourself how to time cuttings by making several batches of the more difficult varieties at intervals of 10 days during the period which is considered most favorable for rooting.
44659 by Richard H. Fillmore