Amateur gardeners are always interested in propagating plants from cuttings or seeds.
This is not always possible in the average home because insufficient light is generally available.
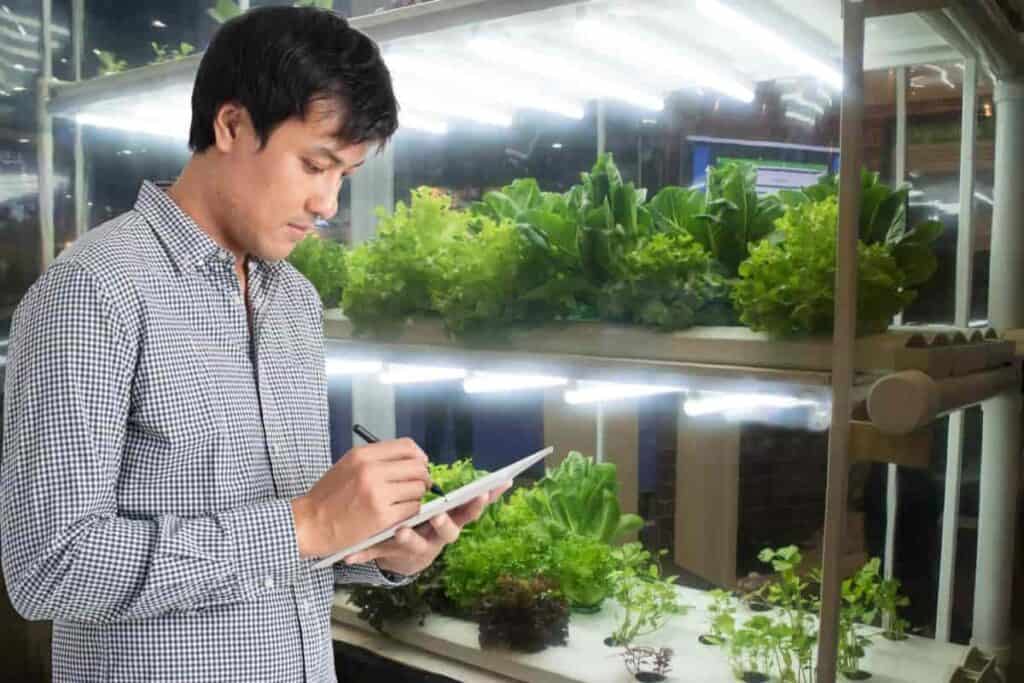
When fluorescent lights came into use as a new method for growing plants, amateur gardeners without facilities found that they could grow plants from cuttings or seeds in large enough quantities to suit their needs.
Before using fluorescent lighting, indoor gardeners often observed that potted plants grew well under the light of incandescent bulbs.
They also observed that if larger bulbs were used to produce more light, they would generate too much heat, which burned the foliage of plants or caused it to dry out.
At the same time, the high cost of this method was far too impractical.
Using Easy And Inexpensive “Cold” Light
Compared to the incandescent bulb, the fluorescent light was the answer to this need because it provided a “cold” light at a low cost of operation.
Not only could it be brought dose to young plants without danger of burning the foliage, but lamps with maximum candle power could be used.
When fluorescent lights were first used to increase plants, the very simple method of suspending a fluorescent lamp over a table of cuttings or sown seeds were commonly practiced.
Easy and inexpensive, the method is still used today, though it has its faith in that plants are subjected to air currents and drafts, while they often dry out excessively because humidity cannot be controlled.
Then, a better way to control temperature and humidity was found by using a large wooden box with a hinged cover.
Long fluorescent tubes were placed under the cover to provide light on the plants placed 15″ to 18″ inches away.
Most boxes of this type are suspended from four legs and set 20″ or more inches from the floor, resulting in wasted space underneath.
Instead of this box, the amateur gardener can either build himself or have a carpenter build a modern greenhouse cabinet in his cellar or other suitable places in his home.
Such a cabinet uses all the floor space it occupies and offers at least three times the growing area of a box of the same dimension.
In addition, the many door openings provide an efficient means of controlling temperature and humidity through proper ventilation and air circulation.
Germinating Chamber
Since most seeds germinate better in the dark, the cabinet contains a germinating chamber on the top, which uses the heat from below.
An ozone lamp installed on the germinating chamber’s cover helps prevent mold formation in the entire unit.
Once the seedlings in the germinating chamber begin to appear, the flats are removed and placed on the wooden conveyors inside the cabinet.
The sliding doors on the side make all parts of the cabinet easily accessible.
Plants that need considerable heat (80° degrees Fahrenheit or more), such as melons, should be placed on the upper conveyor.
In contrast, those requiring less do better on the floor conveyor because there may be as much as a 10° degrees Fahrenheit difference between the upper and lower levels.
The four conveyors will hold about 30 10 x 12-inch flats when completely filled, making ample room for even the most ambitious gardener.
Why Plants Become Soft
The ambitious gardener must, however, plan when the plants may outgrow the cabinet or when additional seedlings must be moved down from the germinating chamber.
Plants allowed to grow too long under fluorescent lights tend to become soft and spindly due to the quality and low intensity of the light.
Suppose you realize there may be as many as 10,000 candle power outdoors on a very bright day. In that case, you can readily understand that 200 or 300 candle power produced by fluorescent lights is very weak by comparison.
Such a difference between artificial and natural lighting is partially compensated for by exposing the plants to “cold” light 24 hours around the clock.
Since the quality of fluorescent lighting is much different from sunlight, the transition from the indoors to the outdoors must be gradual to ensure the best results.
Plants grown under fluorescent lights become yellow and grow very rapidly when exposed suddenly to direct rays from the sun.
To eliminate the hazards of the change from indoors to out, a small supplementary hotbed with heat control is almost necessary.
Seedlings are moved from the cabinet to the hotbed when they are about 3″ to 4″ inches tall, though the temperature of the hotbed must be approximately the same as that of the cabinet before plants are moved in it.
After setting them in the hotbed, shade them from direct sunlight for several days by covering them with slats, latticework, or thin cloth.
Reduce The Hotbed’s Temperature
Once the plants acclimate to their new conditions, the temperature in the hotbed can be gradually reduced until it approximates outdoor temperatures. However, it must not get below 50° degrees Fahrenheit.
After the seedlings have adjusted to outside conditions, they may be planted in the garden or placed in improvised cold frames if the danger of frost persists.
Plants produced by this progressive method can equal those in a small greenhouse.
Greenhouse Cabinet
The greenhouse cabinet is constructed mainly of ¼” inches of temper board supported by 1″ inches of lumber of various widths.
Temperboard eliminates the need for many supports around doors and openings because it is hard and strong.
At the same time, it provides good insulation for heat loss and a smooth, attractive walnut finish for the cabinet.
The end supports for the cabinet are made of 1 x 10-inch lum ber, connected by 2 x 2-inch lumber, 6′ feet long, which provides sturdy runners for the four conveyors.
Similar frames of 2 x 2-inch material glide over the runners as conveyors for flats, which may be pushed in or out of the cabinet through the end openings.
The two upper conveyors have a “drop” leg, which automatically holds the conveyors when pulled out like a drawer.
The walls of the cabinet are lined with aluminum insulation paper to provide maximum light reflection to the plants.
Avoid shiny aluminum, for it reflects about 95% percent of the light that strikes it.
At least four 40-watt fluorescent tubes must be used in the conveyor compartment, two tubes for each level.
Two lights can be placed in a wooden frame or hanger for each level.
Providing a kind of wooden trolley at the ends of the frames may push the lights back and forth across the conveyors to deliver the light where it is most needed. Or it may be used to move the lights out of the way while working.
The hangers should be so arranged that the tubes are held about 8″ inches above the flats since maximum candle power will be provided at this distance.
Convenient Shallow Boxes “Flats”
The so-called “flats,” used by florists, are shallow boxes, about 3″ inches high, in which young seedlings are grown in the greenhouse during winter.
Very convenient “flats” can be made from apple boxes by sawing them lengthwise into 3-inch sections.
Two sections, of course, will need bottoms, and these must have space between the boards to allow for proper aeration of the soil.
Smaller “flats” may be made from the larger ones by dividing the large ones in two and then adding the missing side.
Best Soil Mixture
No doubt, the best soil mixture for the seed flats can be obtained from a nearby greenhouse. Or you can mix your own to contain equal parts of humus, sand, and peat moss, plus a little lime. Bagged mixes are also available.
If all these ingredients are unavailable, use humusy soil, plus one-third sand and a little hydrated lime.
Before placing the soil mixture in the flats, cover the bottom with some drainage material, such as small stones or broken clay pot chips.
After the soil has been placed in the flats, pack it around the edges to prevent washouts and smooth the surface to within ½” inch of the top. Then scatter or place the seed carefully, depending on its sin.
Finally, cover with a thin layer of soil and firm soil surface with a smooth board.
After watering thoroughly, place a piece of window glass over the float to prevent excessive evaporation and put the flat in the germinating chamber.
When young seedlings appear, move the flat to the lower chamber, and from there on, good timing and proper care are the keywords for success.
44659 by Charles W. Comet And Glen Ellyn