
Are you one of the gardeners who has heard about hybridizing or breeding iris yet feels that the process requires more know-how or skill than you possess? If so, read on. This is for you.
Of course, there is a very complicated and highly skilled side to producing new iris varieties, but that is the concern of the advanced hybridizer or breeder. To him, we leave the technical terms and procedures and tell you how you can hybridize your iris to create your new varieties.
Anyone who enjoys the thrill and pleasure of creating something different can hybridize iris, and you are missing a lot of fun if you don’t try it. The first and hardest step is to get you to try. This accomplished, the show is on.
Hybridizing is placing pollen on an iris’s stigma for fertilization and the production of seeds. These seeds, in turn, will produce flowers displaying combinations of the parent’s characteristics, and thus new varieties are born.
Gardeners often think of all seedlings as inferior, but the truth is that seedlings can be far better than either of their parents. As a rule, however, the better the parents, the better the seedlings.
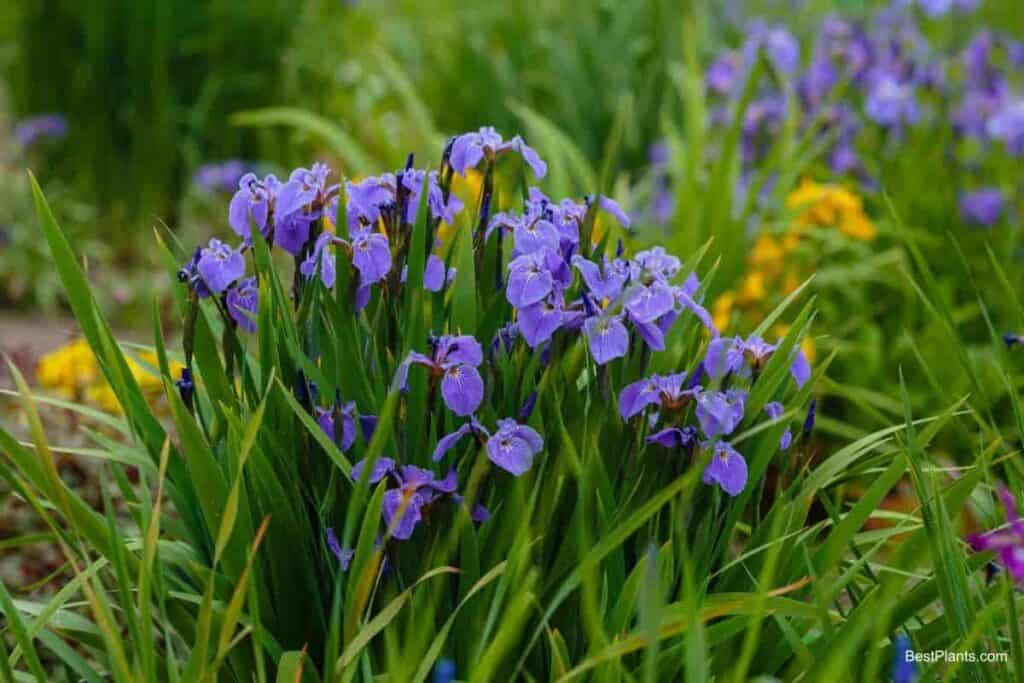
Luckily really good irises for parents can be had for a few dollars or less, so cost need not stop you. Their range of variation in styles and colors is almost unbelievable. You are limited only by your imagination.
Some say, “If I were younger, I would like to try it.” Age has little to do with it. We read everywhere that one of the retired persons’ most challenging problems is finding absorbing interests. Believe me, when you have a seedling in the bud, you DO NOT lack interest.
From the time it first pokes its green sheath from the leaves until it is full-blown, you hang over it breathless with interest. What color will it be? Will it have good form? Is it lacy-edged? Bordered? And so on.
You will beat a path to it. No one can regard his creation with a lack of interest, and it is said that no one ever quit hybridizing iris after his first seedling blossomed.
How To Hybridize An Iris
To hybridize an iris, we must have pollen and a stigma on which to place it. To locate these organs, let’s name the flower parts that concern us. The three standards are the petals that form the top of the flower, and the three falls are the petals that make the lower part.
At the base of these falls is the beard, a plushy strip leading into the center of the flower. Above each beard is a style branch with two little ‘ears’ at the end that peeks out between the standards.
These ears are the style crests. The tiny lip or shelf at the base of these ears is the stigma on which we place the pollen.
Pollen is the powdery material found on the anther, a slender paddle-shaped organ located under the style branch directly over the beard. Remove the anther by breaking it off with tweezers.
Pollen is ready to use as soon as it can be brushed from the anther but may be gathered and dried at room temperature for 24 hours, then refrigerated dry for use on flowers that bloom later.
Pollination is easy. By gently bending the style crests back, you will expose the lip of the stigma so that pollen may be placed onï its upper side. Pollinate only freshly opened flowers using pollen from another variety.
If you wish to keep a record of which iris was the pollen parent, tie a tag under the flower with the name of the pollen parent on it.
Leave the flower on the plant after it withers, for the seed pod forms at its base. When the pod is growing well, tie the stalk to a stake so that wind cannot blow it over.
When the pod begins to turn brown and splits open at the top in two months or so, it is time to harvest the seeds.
As the seeds will be plump and wet, they must be shelled out, then spread to dry for a few days. Keep them dry until planting in the fall, about a month before the ground freezes in your area.
Waiting For Plants
Germination will start too soon if the seeds are sown earlier, and they may lie dormant until the following year if planted in the spring. Iris seeds do not all germinate at the same time. Most of them will sprout in the first year, but a few will remain dormant until the second year.
For this reason, planting in flats is recommended so that you can give those not germinated another year after the first seedlings are transplanted. Plant seeds 3/4″ inch deep whether you put them in the garden row or flats.
Planted flats are left outdoors and kept moist at all times. Transplant seedlings from the apartments to the garden plot about June 15, spacing them 12″ inches apart. Most will bloom the following spring if good care is given to them.
That’s a lot of enjoyment and beauty only two years from when you put pollen on a flower. You can have new seedlings bloom each year and even develop your line of irises by discarding poor ones, using only the best for parents.
And there will be poor ones, for seedlings range from worthless to excellent. Rigid culling is essential. Most beginners cannot bear to throw out any seedlings, and soon their plantings are too big to care for.
Your selection of varieties to start hybridizing depends on the qualities you admire in the iris. Money is not essential to enjoying the hobby, but the newer introductions offer broader breeding potentialities.
For the beginner on a minimum budget, worthwhile parent stock can be had for a dollar or less. Grower’s and breeder’s catalogs do delightful reading, and some include suggestions for using each variety in hybridizing.
Then when the iris bloom in your garden, put a bit of pollen from one flower on the stigma of another and help yourself to an unusual and fascinating hobby.
By E. Jubb
14290 by NA