The first step in planting a rose garden in Arizona, Kentucky, or anywhere else is carefully selecting the plants. After deciding on the varieties, you’re going to grow (and how much money you can spend), the next question is,
“What kind of rose plants are best to buy?” In checking the prices, you will find considerable variation. But roses are like other commodities. Good quality costs more and is usually worth it.
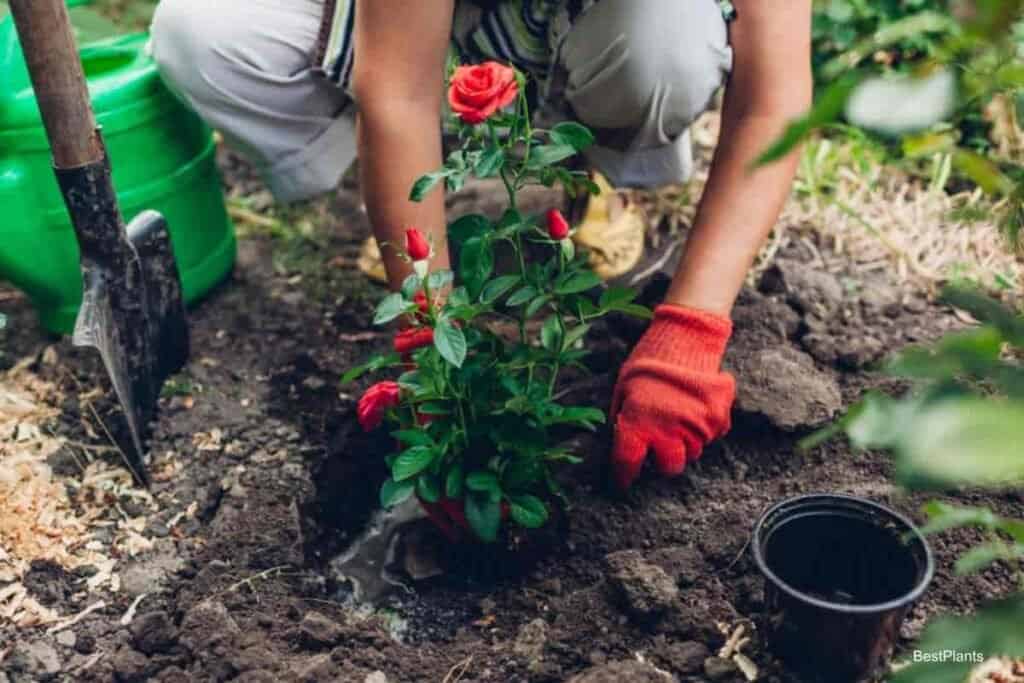
Ordering Roses For Planting
Most successful rose growers agree that the gardener who starts with #1 or 1-1/2 grade dormant, field-grown, budded plants will most likely succeed.
If you start with small, weak, poorly grown “bargain” plants, you start with two strikes against you. Most of us grow plants for pleasure, not economy, so let’s get the best possible quality.
If you’re on a budget (and who isn’t?), spend more on a few plants than buying many cheap ones. Then, there will be another year when you can add to your collection.
- Make every attempt to have the nursery deliver or get your plants early.
- Prepare the soil as soon as the frost goes out. Fall preparation would have been better, but it’s too late to worry about that now.
- Spring-planted roses should be in the ground as early as possible. A delay in planting bare-root roses means less growth in the first year. As a result, chances of survival are also reduced.
- Plants sometimes have the bad habit of arriving from the nursery or garden center when soil and weather conditions are not suitable for planting.
- If your plants are delivered at such a time, they will need the care to prevent drying out.
- If they’re packaged in polyethylene plastic, there is little need to unwrap them until you’re ready to plant.
- It will be necessary to keep them cool, however. If you have a cool basement where the temperature is 45° degrees Fahrenheit or below, there should be no storage problem for a week or ten days.
- When they arrive, be sure they do not dry out.
- There are two important points to keep in mind: moisture and a reasonably low temperature.
Related: Fall or Spring Planting Of Roses
Rose Planting Day Arrives
When the planting day finally arrives, have all the necessary equipment on hand.
Here are the tips to remember:
- Open the package but do not expose the roots to wind or sun.
- A wet towel will protect roots from drying, or you can keep them in a bucket of water until they’re ready to plant.
- Heavy pruning of roots isn’t necessary.
- Check for broken or damaged roots and cut back to live tissue.
- Make the planting hole large enough to accommodate the roots without undue crowding.
- Having a mud bath ready to dip the roots in isn’t a bad idea.
This will cover the fine roots with a protective layer and reduce the danger of drying out.
Planting Depth For Your Roses
The planting depth depends on the area where the roses are to be grown.
If you live in the northern part of the country, you will perhaps place the bud union 1 ½” to 2″ inches below the surrounding soil level.
This gives more protection during the winter months.
Further south, roses are planted at the union level or slightly above the soil surface.
A board or tool handle is flat on the ground to help you determine how deeply the plant is being set.
The roots should be spread out naturally, and this can be made easier by building up a mound of soil at the bottom of the planting hole.
Then, start covering the roots with topsoil rather than the soil that was removed from the planting hole.
Fill about 2/3 of the way to the top and tamp lightly.
Rose Starter Fertilizing
A pail of water may be applied now, or a liquid starter fertilizer can be used.
The starter fertilizer can be prepared using a complete fertilizer (6-10-4, 8-8-8, 10-10-10, etc.) at two heaping tablespoons for each gallon of water. Use a gallon or more of the material per plant.
One of the all-soluble, high-analysis fertilizers can be used instead of the earlier type. If this kind is used, be sure to follow the directions on the package.
Fertilizer at this time will furnish the newly set plant with some quickly available nutrients.
This will encourage better early growth and help overcome the shock of transplanting.
If the plant hasn’t been pruned when you receive it, it is time to shorten it back to 5” or 6” inches.
This helps balance the top of the plant with the reduced root system. Also, remove any weak, spindly wood at this time.
The Last Forgotten Step
The last step in planting a rose is often forgotten, but it is essential.
- The canes of newly set roses are especially vulnerable to drying winds and sun.
- It will be several days before water will generally move to the top of the plant.
- Soil is one of the best materials to prevent the drying out of the canes. Mound loose soil over the entire plant immediately after planting.
- The plant will begin to establish itself in a week, and the soil can be carefully removed.
Planting a rose isn’t tricky, and it’s just as easy to plant it properly as it is to do a bad job.
However, a little extra attention now will be one of the important steps in getting your roses well-established.