
How often have you looked at a photograph of a beautiful border of perennials and biennials and wished that you might have one like it? But when you looked in the catalogs for the prices of the plants you would need, you found yourself saying, “No, ‘fraid not this year.”
Well. It doesn’t have to be that way if you will bestir yourself now, spend a few hours in fixing up a suitable seedbed and purchase a few dollars’ worths of seed.
This is less than you would have to pay for a dozen, or even fewer, nursery-grown plants. Furthermore, these homegrown plants, growing right on your ground, can be set out at any time – next fall or spring—when weather conditions are best. They won’t have to undergo the shock of packing, shipping, and waiting around until you get a chance to plant them.
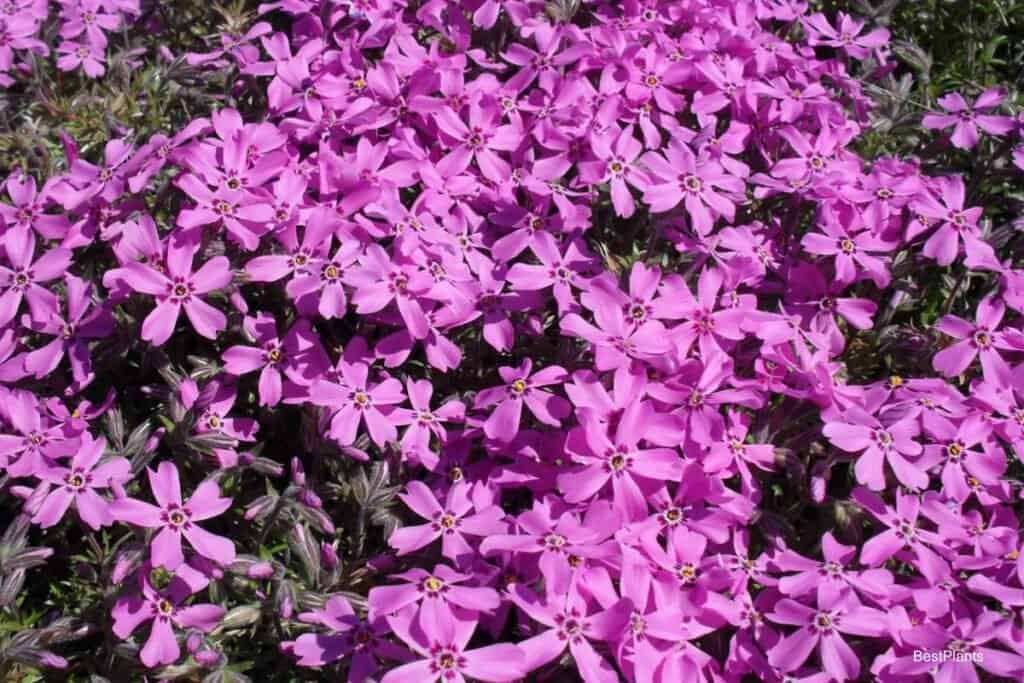
There are indeed some things which you cannot, with advantage, grow for yourself. These include the named varieties that do not come true from seed, such as chrysanthemums, phlox, peonies, iris, and day-lilies. But you’ll save enough on the things you do grow to be able to afford some of these.
A Word Of Warning
Lest the reader should get the impression – and a very incorrect one – that I’m making this project sound too easy, let me first give you a word of warning.
I’ll venture to say that at least 75% of all beginning gardeners’ failures to grow perennials from seed are due to one of two things; either sowing the seed too late or sowing on improperly prepared soil. When these two practices are combined, failure is practically inevitable.
It is not always the gardener’s fault that he sows perennial seeds too late. The English custom of mid-summer sowing has long been recommended and handed down from one gardener to another and from Englishman to American. But an English summer is one thing, and an American summer is something else.
If there is one time when seedlings of most species cannot get a good start in the open, it is during the hot days of mid-June and mid-August, when scorching sunshine alternates with flash rainstorms. So. in sowing your perennial seed, aim for early May to mid-June.
The Best Place To Sow Seeds
Biennials and perennials, no less than annuals, require moisture at the soil’s surface to germinate promptly.
It is often recommended that a seedbed be prepared in a “sheltered” place —and the beginning gardener is left to judge what constitutes that hallowed but nebulous spot of ground. Years of experience have convinced me that the only sheltered area has both sides and when needed, a roof.
A cold frame is the ideal private place, but a reasonable facsimile can be made quickly and at little or no expense if you do not possess one (as every good gardener should).
Place four 6” or 8” inch boards on edge, forming a rectangle: and hold in place with stakes driven into the ground. This will enclose an area 3’ or 4’ feet wide and as long as needed.
A-frame so constructed will protect the seedbed from dogs, cats, various rodents, and the feet of unobservant or careless two-legged intruders. Protection from flash floods, scorching sun, and high-velocity winds still must be provided. This will involve the use of a roof which can be put on or removed as required.
A couple of discarded storm sashes or old windows ( usually procurable from a junkyard or a dealer in secondhand materials) will serve excellently. Grass clippings or any old piece of cloth placed over the sash will provide shade.
Plastering lath, nailed about an inch apart to two pieces of 1” inch x 2” inch strips, is still better, as it gives constantly shifting, light shade without interfering with air circulation.
To prepare the soil in the seedbed. Fork it up to a depth of 8” to 12” inches, thus loosening it and making it acceptable. Then work it over again, incorporating a 2” inch layer of compost or peat moss plus dehydrated manure and bonemeal – about 2 pounds of peat moss and pound of bonemeal to 10’ square feet.
Sowing The Seeds
If the soil in the seedbed is dry, give it extensive soaking. Then add a top layer. of 1” to 2” inches deep garden soil. Peat moss and sand, well mixed and sifted.
Next, mark rows 4” to 6” inches apart and about ½” inch deep. Sow the seed evenly and thinly in the furrows (sources should never be so close as to touch) and firm the soil over the row with a narrow strip of wood.
Excellent seed should have no further covering except perhaps enough sifted sphagnum moss or vermiculite (garden grade) to hide them from sight; label each lot carefully and moisten with a fine mist spray.
Keep the frame shaded for the first few days after sowing; the surface should never dry out. Repeat the mist spray to keep the bed’s surface moist but never soaking wet. This is especially important when the seedlings emerge.
Caring For The Seedlings
Some seeds will be up in a few days, others may take ten to twenty days, and some even longer. Remove the weed seedlings as soon as they appear.
As soon as the actual leaves of the seedlings begin to develop, thin out the rows so that the remaining seedlings will have plenty of room to grow. Remember that surplus seedlings are just as bad as weeds.
As soon as the seedlings are well-established. Of course, they will want more complimentary air circulation and full sunlight for the few species that prefer shade. At this time, the lath shade can be removed, but at midday, when the sun is scorching, it may be desirable to replace the shade.
After six to twelve weeks in the seedbed, the seedlings will be ready for transplanting. Space them out. 4” to 6” inches apart from each way, in a well-prepared bed.
Those that are not hardy, would be best placed in a frame. Such as the one used for starting the seeds. Continue to weed and water the bed to keep the plants thriving.
At the approach of .winter—but not until the soil has frozen an inch or so deep—the young plants can be mulched with hay, oak leaves, or pine boughs to provide winter protection.
The mulching is removed when growth starts in the spring when you have dozens of husky. Healthy plants will be ready to move to their permanent locations.
44659 by F. F. Rockwell