Here are the three steps to creating a Bell Jar.
- Scribe a circle on the jug with a glass cutter. To scribe an even mark, rest the handle of the glass cutter on a wooden block, box, or can at the desired height.
Hold the blade firmly with your hand, ensuring the cutting wheel is perpendicular to the jug.
Now rotate the jar against the cutter, applying enough pressure to give an even scratch in a horizontal band around the pitcher.
2. Saturate a thin string with lighter fluid. Tie the string in a single loop directly over the scratch, making the string as taut as possible.
Place the jug in a metal pan for safety, and light the series. The heat will crack the glass along the scratch, and the top part can be lifted off.
If it does not come off readily, tap it gently with a knife handle or a screwdriver.
3. Rub the sharp edges of the rim with medium-grade emery cloth or sandpaper, preferably emery cloth.
Your bell jar is now ready.
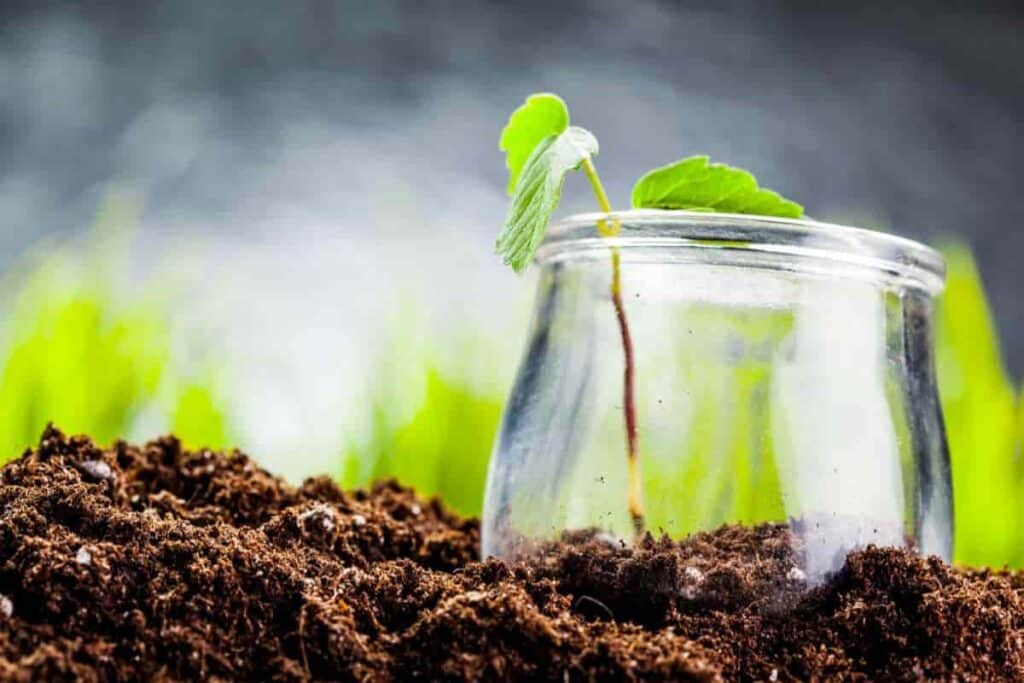
Use it right side up to enclose plants that need extra humidity, such as African violets or some begonias.
Where To Set And Use The Bell Jar
A plant in a saucer or other small container can be set in the bottom of the jar on an inch of wet pebbles and look pretty enough for your living room table or window sill.
Invert the jar over seeds to help them germinate or over-cuttings of rooting plants.
You’ll find all sorts of uses for bell jars. Here they are helping moisture-loving tropicals to thrive. Left to right:
- A young, silver leaf rex begonia rests on a layer of moist perlite.
- Seedlings of Streptocarpus wendlandii sit in a saucer of moist perlite with a bell jar cover to keep them in high humidity.
- The pennywort or small pond lily begonia is small enough to grow ideally inside a gallon-size bell jar.
If you want to put a large plant into a wooden tub or firkin and are afraid of moisture leaking through to spoil your rug or floor, use the bell jar as a liner for it, and you can safely put the tub down anywhere.
44659 by Sonya Dorman